Mastering the perfect pie crust is often considered a rite of passage for home bakers, but it doesn’t have to be intimidating. Imagine a crust so tender it shatters upon impact, revealing golden, marbled layers of butter that have been perfectly laminated within a delicate flour structure. This recipe focuses on the forensic details that separate a tough, soggy bottom from a professional-grade, fluted masterpiece.
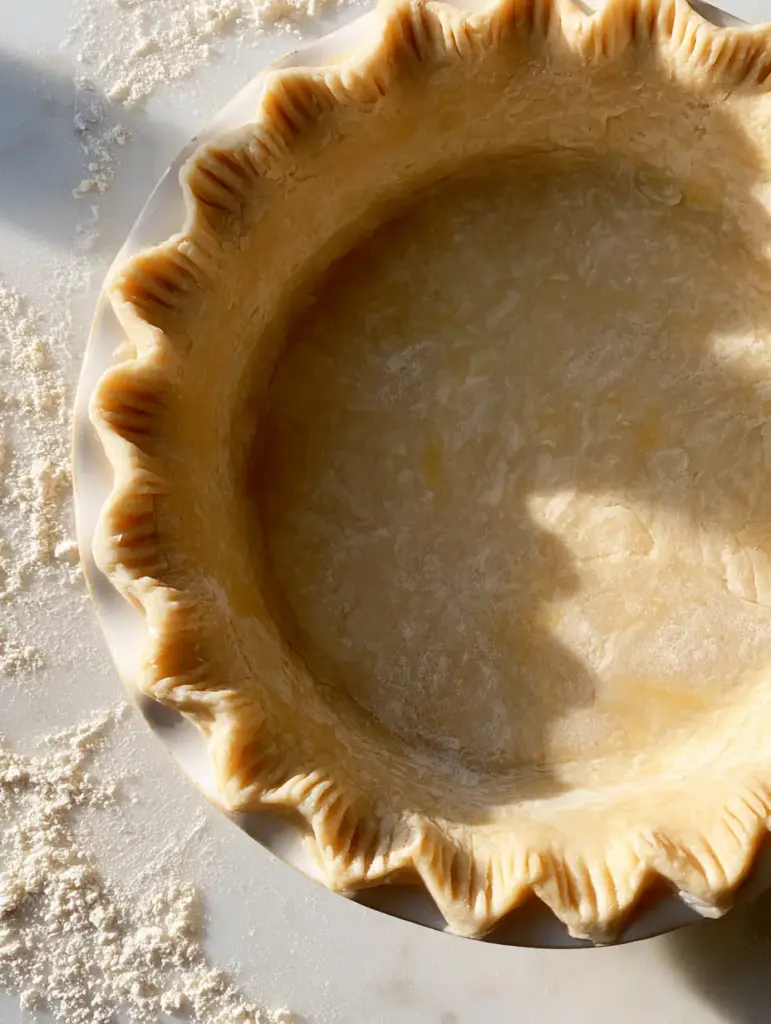
When you look at a raw dough ready for the oven, you should see large, visible flecks of cold butter pressed between the layers of flour. These “butter pebbles” are the secret to steam-leavened flakes that rise during the bake. Whether you are preparing a classic homemade apple pie or a decadent holiday showstopper, this foundational dough is your ticket to success.
The Secret Architecture of a Flaky Foundation
- Visible Butter Marbling: Large, pea-sized chunks of butter create pockets of steam, resulting in a distinct, shattered-glass texture.
- Perfectly Crimped Edges: A high-fat ratio ensures the dough holds its shape in a fluted ceramic dish without shrinking down the sides.
- Cold-Process Science: By utilizing chilled equipment and ice-cold water, we prevent the butter from melting into the flour, preserving the structural integrity.
- Golden Finish: The addition of a precise egg wash provides that professional, high-gloss sheen once it hits the heat.
The Essential Elements for a Flaky Pie Crust
All-Purpose Flour: 2 ½ cups (315g). This provides the necessary protein structure to hold the butter layers without becoming overly tough like bread flour.
Chilled Unsalted Butter Cubes: 1 cup (225g/2 sticks). It is vital that this butter is ice-cold; the golden flecks visible in the raw dough are what create the eventual flakes.
Ice Cold Water: 6-8 tbsp (90-120ml). Water acts as the binder, but using it sparingly ensures the pie crust remains tender rather than gummy.
Sea Salt: 1 tsp (6g). Salt is the ultimate flavor enhancer that balances the richness of the fats and the sweetness of your chosen filling.
Granulated Sugar: 1 tbsp (12g). While optional for savory bakes, a touch of sugar aids in the Maillard reaction, giving the crust a beautiful browning capability.
Egg Wash: 1 large egg beaten with 1 tbsp (15ml) water. This final coating is the bridge between a dull, floury surface and a vibrant, photo-ready finish.
Professional Tools for Pastry Success
To achieve that signature look of a raw, perfectly crimped dough on a white marble countertop, you need the right kit. A heavy-duty pastry cutter or a food processor is essential for breaking down the butter without the heat from your hands melting it. A chilled marble rolling pin helps maintain the dough’s temperature, while a fluted ceramic pie dish provides even heat distribution during the baking process.
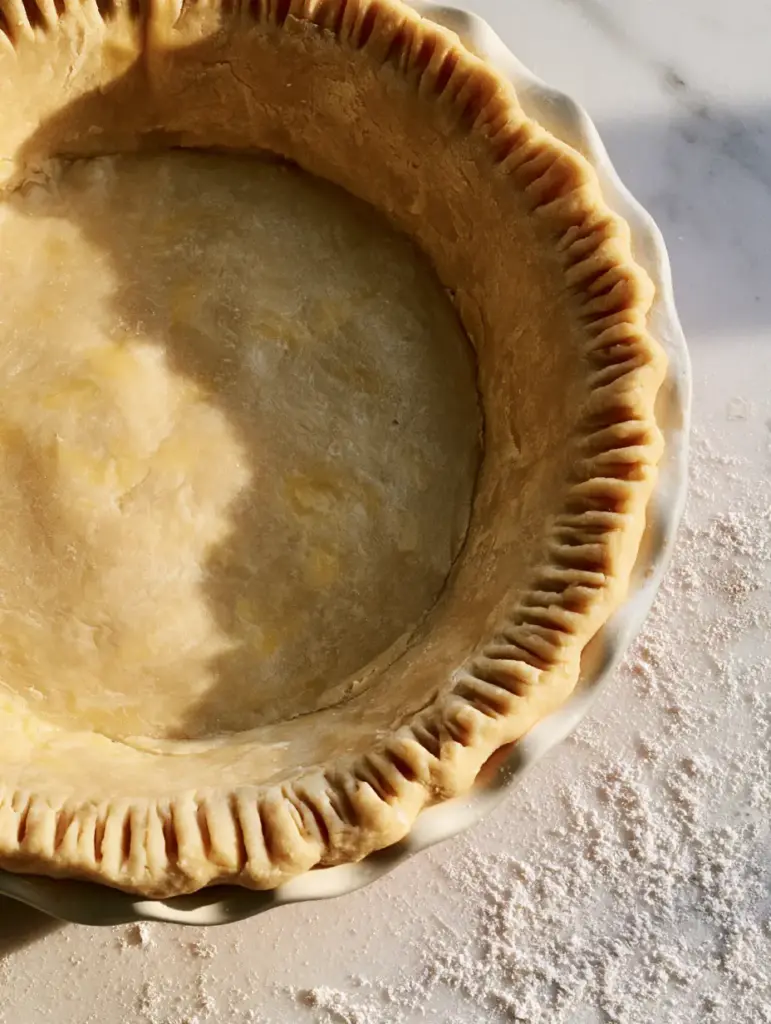
Step-by-Step Evolution of the Perfect Dough
Integrating the Cold Fats
In a large chilled bowl, whisk together your flour, sea salt, and granulated sugar. Drop in your cubes of ice-cold butter and use a pastry cutter to press the fat into the flour. You are looking for a specific sensory cue: the mixture should resemble coarse meal, but with several large, walnut-sized chunks of butter still clearly visible and marbled throughout.
Hydrating the Flour Protein
Drizzle the ice water over the mixture one tablespoon at a time. Use a rubber spatula to toss the flour gently—do not mash. The dough is ready when it just holds together when squeezed in your palm; it should look shaggy and slightly dry, not like a smooth bread dough.
The Chilling and Lamination Phase
Turn the dough onto a light dusting of flour on a clean marble countertop. Fold the dough over itself three or four times to create “faux lamination,” which ensures those visible butter layers. Divide the dough into two disks, wrap tightly in plastic, and refrigerate for at least one hour to allow the gluten to relax and the butter to re-harden.
Rolling and Fluting the Edges
Roll the chilled dough out into a 12-inch circle. Gently drape it over your fluted ceramic dish, allowing the excess to hang over. Fold the overhang under itself to create a thick border, then use your knuckles to crimp the edge into a rhythmic, wavy pattern. This is the stage where you will see those beautiful golden butter flecks marbled through the thick dough layers.
Expert Tips for Crust Perfection
- Temperature Control: If the butter starts to feel soft or oily at any point, put the entire bowl or rolled dough back in the fridge for 15 minutes.
- Avoid Over-Mixing: The more you work the dough, the more gluten develops, leading to a tough, shrinkable pie crust.
- The Flour Dusting: Use just enough flour to prevent sticking; too much extra flour will dry out the dough and make the crimped edges crack.
- Resting is Mandatory: Never skip the refrigeration steps; a rested dough is a stable dough that won’t slump in the oven.
Mastering the Art of Longevity
This raw dough can be prepared well in advance of your baking needs. You can store the wrapped disks in the refrigerator for up to 3 days. For long-term prep, this pie crust freezes beautifully for up to 3 months; simply thaw overnight in the fridge before rolling out on your marble surface.
What to Pair with Your Flaky Creation
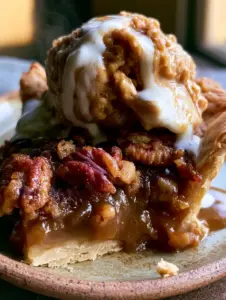
Once you have mastered the base, the possibilities are endless. You can use this dough for a pecan pie cheesecake base or a traditional pecan pie cobbler. If you have leftover scraps of dough, consider sprinkling them with cinnamon sugar to make a buttery crumble topping for your next fruit galette.
Frequently Asked Questions
Yes, a food processor is excellent for cutting in butter quickly. Pulse only until you see pea-sized pieces; be careful not to over-process the dough into a paste.
Unsalted butter is preferred so you can control the exact amount of salt in the dough. If using salted butter, reduce the added sea salt by half.
An egg wash provides a beautiful golden-brown color and a professional high-gloss shine. Without it, the crust can look dull and floury even when fully cooked.
Shrinking is often caused by not letting the dough rest. Gluten needs time to relax in the refrigerator for at least an hour before rolling and again after placing in the dish.
Toughness usually results from over-mixing, which develops too much gluten, or from the butter melting into the flour before baking. Keep your ingredients ice-cold and stop mixing while butter chunks are still visible.
The Ultimate Flaky Pie Crust Recipe

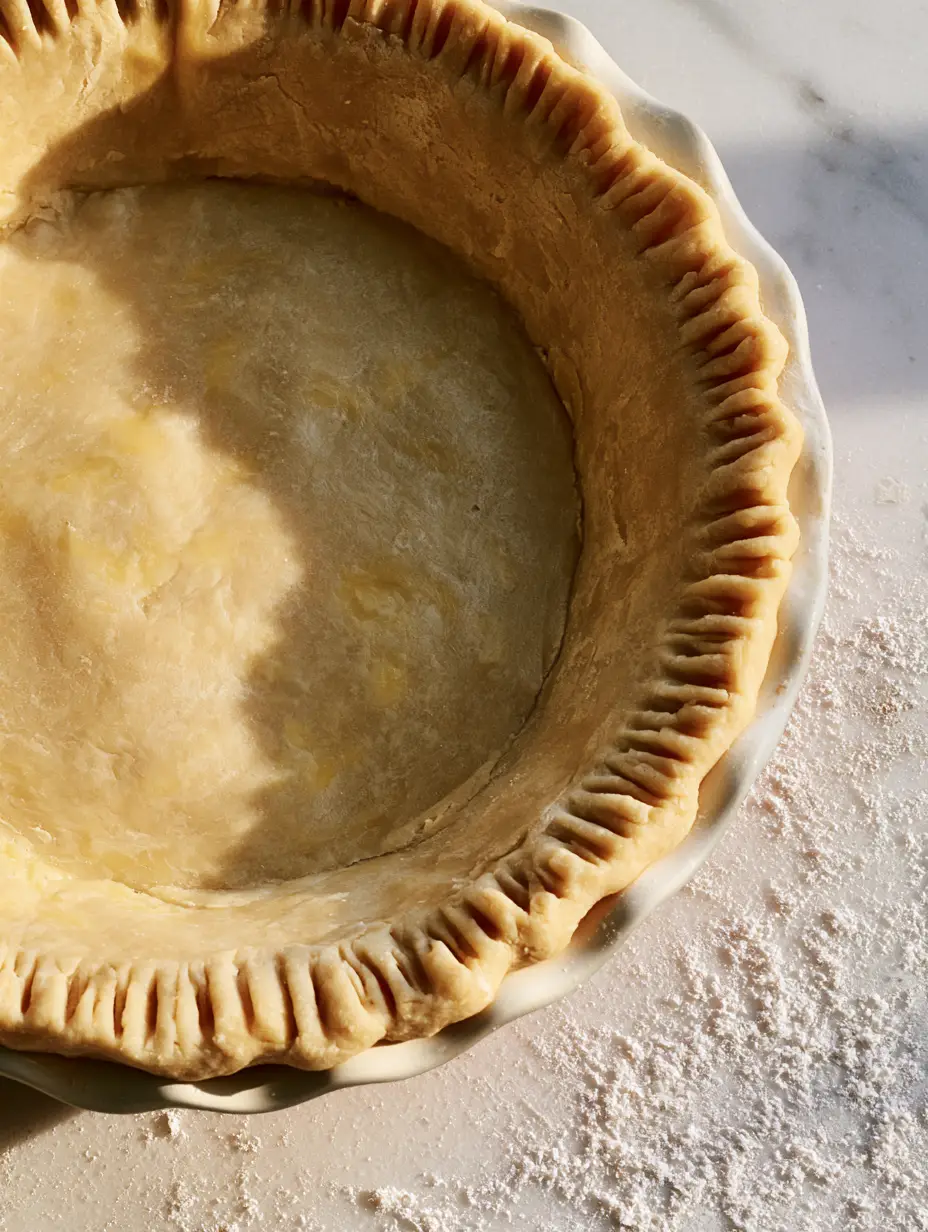
Pie Crust Recipe: The Ultimate Guide to Buttery Flaky Pastry
Ingredients
Equipment
Method
- Whisk flour, salt, and sugar in a chilled bowl.
- Use a pastry cutter to integrate cold butter cubes until large golden flecks remain marbled throughout.
- Add ice water 1 tablespoon at a time until dough just holds together.
- Divide into two disks, wrap in plastic, and refrigerate for 1 hour.
- Roll on a floured marble surface, place in dish, and crimp the edges perfectly.
Notes
Do not overwork the dough or it will become tough.
Join the Wholesome Baking Community
Creating a professional-grade pie crust is a skill that will serve you for a lifetime of holiday gatherings and Sunday dinners. If you found these visual cues and culinary tips helpful, please leave a comment below and let us know how your crimping turned out! Don’t forget to follow thewholesomeskillet on Pinterest and share your baking photos with our community.