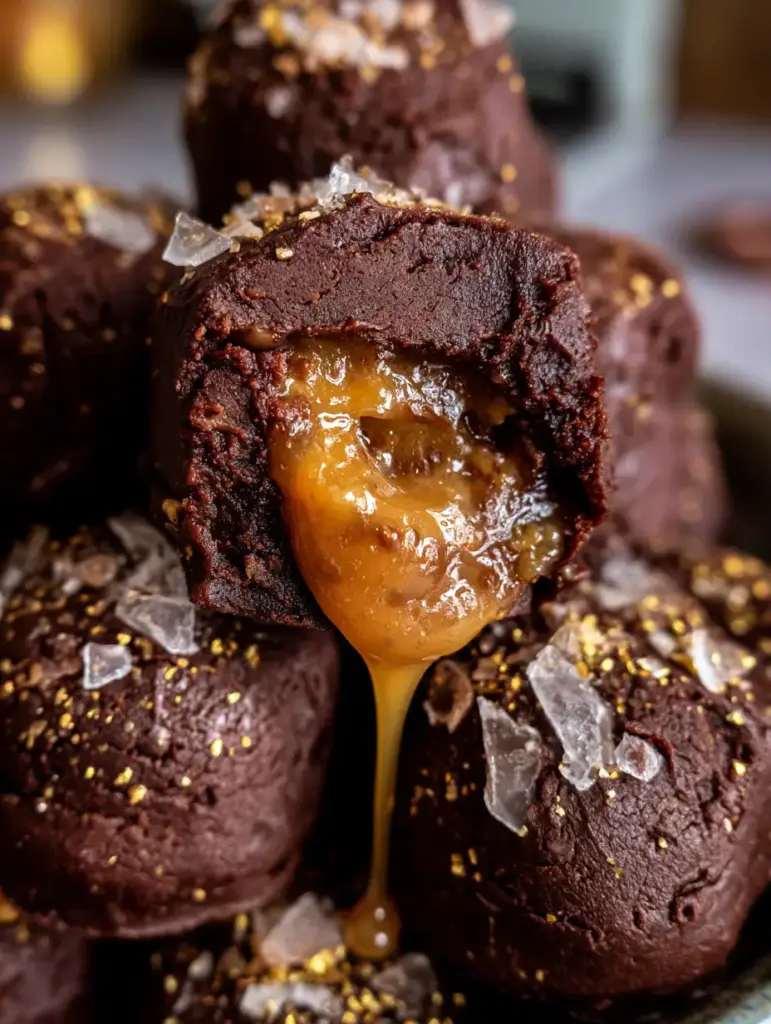
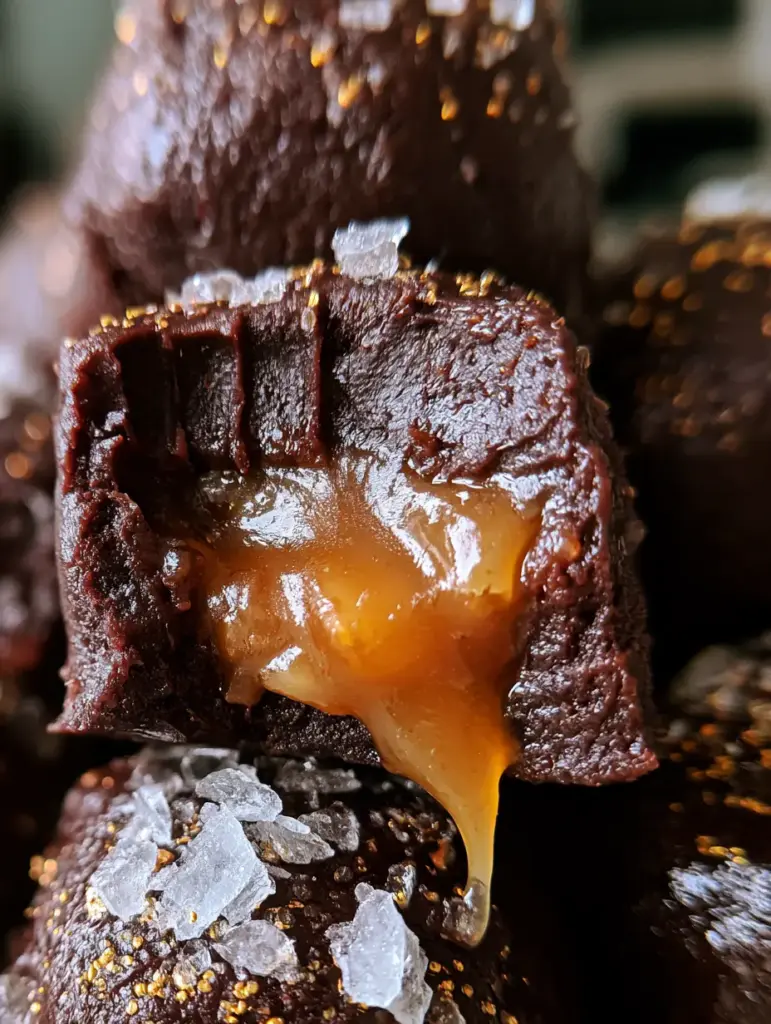
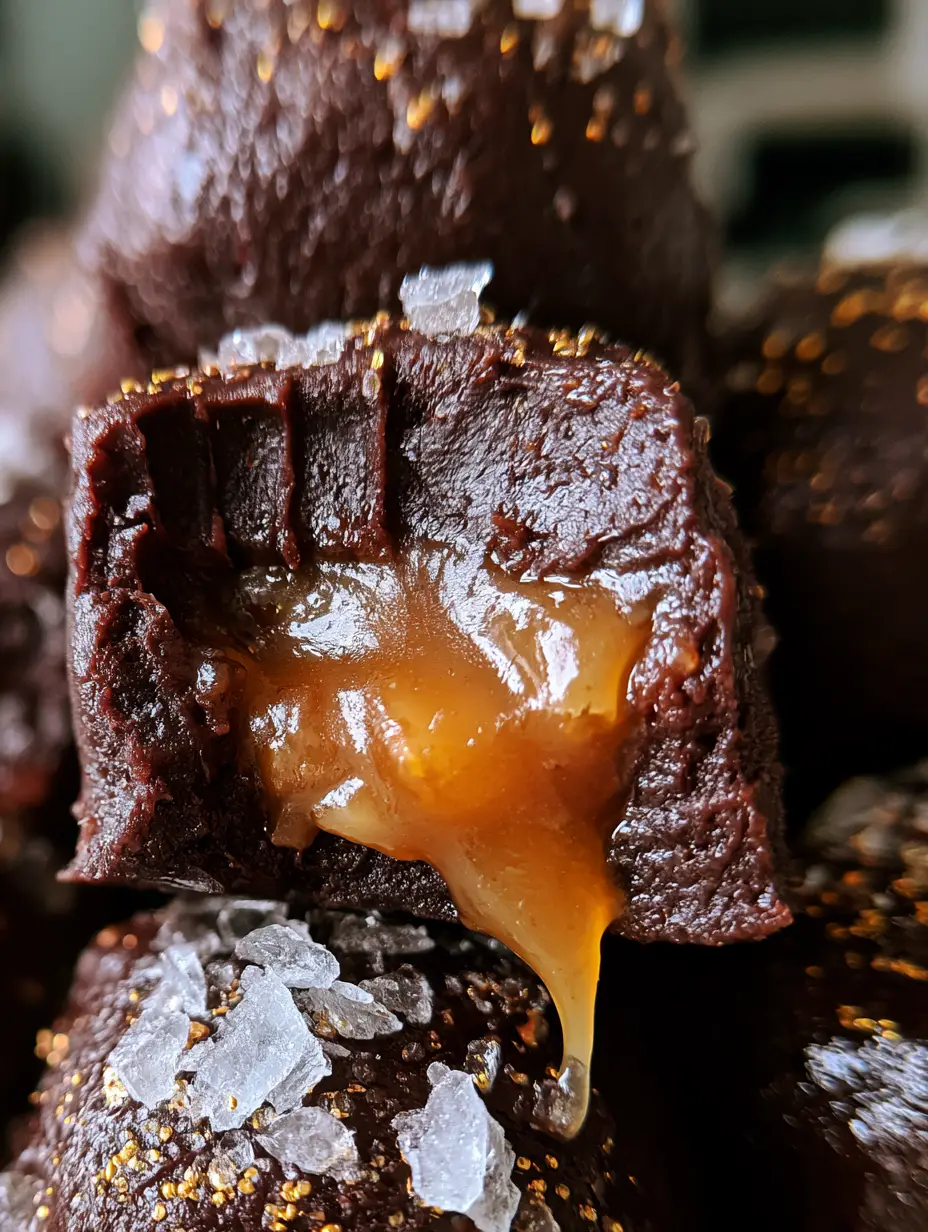
There is nothing quite like the sensory experience of biting into a piece of premium salted caramel chocolate fudge. Imagine a dense, moist dark chocolate exterior that yields to a molten, liquid golden caramel center that slowly drips down with every bite. This isn’t just a basic fudge; it is a masterclass in texture and flavor contrast, designed to look as stunning on your countertop as it does in a high-end confectionery boutique.
Inspired by the art of professional chocolatiering, this recipe bridges the gap between a simple stovetop fudge and a complex truffle. By utilizing rich cocoa solids and a specific emulsion of sweetened condensed milk, we achieve that signature “handheld smartphone photo” aesthetic—a soft, natural glow reflecting off large Maldon sea salt crystals and shimmering edible gold sprinkles. Whether you are a seasoned baker or a curious novice, this guide will ensure your fudge achieves that perfect, fluid caramel core.
Why This Molten-Core Fudge is a Showstopper
- The Liquid Reveal: Unlike traditional fudge that is uniform throughout, this recipe features a thick, glossy, golden salted caramel center that provides a dramatic visual and textural “ooze.”
- Professional Texture: We use high-percentage cocoa solids to ensure the dark chocolate ganache is moist, dense, and structurally sound enough to hold the liquid center.
- Elite Garnishes: The combination of oversized flaky sea salt and delicate edible gold sprinkles creates a sophisticated, modern finish that captures light beautifully.
- Scientific Precision: By balancing the stabilizers in the condensed milk with the fats in the chocolate, we create a fudge that stays soft at room temperature without becoming oily.
The Anatomy of Indulgence: Essential Ingredients
To achieve the specific visual and flavor profile described in our blueprint, every ingredient serves a forensic purpose. Here is what you will need for the ultimate salted caramel chocolate fudge.
The Chocolate Foundation
2 cups (340g) Dark Chocolate Chips or Chopped Bars (70% Cocoa): The high cocoa solid content is non-negotiable for that deep, dark aesthetic and a “moist and dense” bite. Using a lower percentage will result in a fudge that is too sweet and lacks the structural integrity to support the liquid caramel.
1 can (14 oz / 397g) Sweetened Condensed Milk: This acts as our primary sweetener and thickener, creating a smooth ganache-like texture when melted with the chocolate. It provides the “fudge” consistency without the need for a candy thermometer.
2 tbsp (28g) Unsalted Butter: A small amount of butter adds a professional sheen to the fudge exterior and helps the chocolate melt more evenly, preventing graininess.
The Liquid Gold Center
1/2 cup (120ml) High-Quality Liquid Caramel Sauce: Look for a thick, jarred variety or make a homemade version that remains fluid at room temperature. This is what creates the “thick, glossy, golden” drip seen in the visual prompt.
1/2 tsp (3g) Fine Sea Salt: We stir this directly into the caramel center to ensure the “salted” element isn’t just a garnish, but a core flavor component.
The Forensic Finishes
1 tbsp (10g) Flaky Maldon Sea Salt: These large, pyramid-shaped crystals provide the essential visual contrast against the dark chocolate and offer a clean, salty crunch.
1 tsp (2g) Edible Gold Sprinkles or Dust: This adds the “luxury” element, catching the natural window light and making the truffles look truly artisanal.
Essential Equipment for Truffle Precision
To mimic the “unedited handheld smartphone photo” perfection, you need the right tools to handle the delicate liquid centers. A heavy-bottomed saucepan is critical for melting the chocolate without scorching the cocoa solids. You will also need a small melon baller or teaspoon to portion the fudge, and a piping bag (or a sturdy Ziploc) to inject the liquid caramel into the center of each truffle. Finally, a silicone mat or parchment paper is necessary to ensure the dense chocolate doesn’t stick during the setting process.
Step-by-Step: Crafting the Perfect Salted Caramel Chocolate Fudge
1. Creating the Dense Chocolate Ganache Base
In your heavy-bottomed saucepan over low heat, combine the 14 oz (397g) of sweetened condensed milk, 2 cups (340g) of dark chocolate, and 28g of butter. Stir constantly with a silicone spatula. You are looking for a specific sensory cue: the mixture should transform from individual chips into a singular, glossy, and heavy mass that pulls away from the sides of the pan. This indicates the fats have emulsified and the cocoa solids are fully integrated.
2. Chilling for Structural Integrity
Transfer the warm fudge mixture into a shallow bowl and press a piece of plastic wrap directly onto the surface to prevent a skin from forming. Chill in the refrigerator for about 30-45 minutes. It needs to be firm enough to handle but still pliable—think of the consistency of modeling clay. If you enjoy this texture, you might also love the richness of a rich flourless chocolate cake.
3. The Secret to the Liquid Center
While the fudge chills, prepare your caramel. If your caramel is too thin, it will soak into the fudge; if it’s too thick, it won’t drip. Aim for a “lava” consistency. Once the fudge is chilled, scoop about 1.5 tablespoons of the mixture and roll it into a ball. Use your thumb to create a deep well in the center, effectively creating a “cup” of chocolate fudge.
4. Injection and Sealing
Fill the well with approximately 1 teaspoon of the salted caramel. Carefully pinch the top of the chocolate fudge closed, sealing the caramel inside. Roll the ball gently between your palms to smooth out any seams. The goal is a perfectly spherical truffle that hides the “molten” surprise within. This technique is similar to how we handle fillings in caramel pretzel cheesecake truffles.
5. The Final Forensic Garnishing
Immediately after rolling, while the chocolate is still slightly tacky from the warmth of your hands, press the top of the truffle into a mixture of the Maldon sea salt and edible gold sprinkles. The salt crystals should look “dusted” across the surface, just like in the visual prompt. Set the truffles on parchment paper to firm up completely at room temperature for at least 2 hours.
Expert Tips for Confectionery Success
- Temperature Control: Never boil the condensed milk and chocolate mixture. High heat will cause the chocolate to “seize,” turning it from moist and dense to grainy and oily.
- Caramel Viscosity: If your caramel is too runny, whisk in a teaspoon of cornstarch or let it simmer for 2 minutes to reduce. It must be “thick and glossy” to stay put during the sealing process.
- Handling the Fudge: If the fudge becomes too soft while you are rolling it, pop it back into the freezer for 5 minutes. Cold hands help!
- Achieving the “Drip”: For the perfect photo, use a sharp, warm knife to slice one truffle down the center. The warmth of the blade will encourage the caramel to flow down the side of the dark chocolate.
Pairing Your Fudge with Other Treats
This salted caramel chocolate fudge is a powerhouse of flavor, but it pairs beautifully with other textures. Serve it alongside crispy salted butter cookies for a contrast in crunch, or perhaps a slice of buttery caramel pound cake for a full-dessert spread. If you are a fan of the chocolate-caramel-salt trio, you should definitely check out our salted caramel pretzel crack for your next party.
Storage, Reheating, and Longevity
Because of the liquid center, this fudge is best stored in an airtight container in a cool, dry place. At room temperature, it will remain perfectly “moist and dense” for up to 5 days. You can refrigerate it for up to 2 weeks, but be sure to let the truffles sit at room temperature for 30 minutes before serving; this ensures the caramel center regains its fluid, dripping consistency. We do not recommend freezing these, as the expansion and contraction can cause the liquid center to leak through the chocolate shell.
Frequently Asked Questions
Milk chocolate has a lower cocoa butter content and more sugar, which makes the fudge much softer. If you use milk chocolate, the truffle may not be sturdy enough to hold the liquid salted caramel center.
The key is using a high-quality jarred caramel sauce or a homemade caramel with a high cream content. Avoid using hard caramels or ‘chewy’ caramels, as they will firm up too much once chilled.
Store the fudge in a cool, dry place. Humidity is the enemy of flaky sea salt; if it’s too humid, the salt will dissolve into the chocolate. Do not refrigerate until the salt has fully ‘set’ into the surface.
Yes, edible gold sprinkles or leaf (usually 22-24 karat) are biologically inert and safe for consumption. They are purely decorative and add a luxury aesthetic to the fudge.
Graininess usually occurs if the chocolate was melted too quickly over high heat or if a drop of water got into the mixture. Always melt over low heat and stir constantly to ensure the cocoa solids and condensed milk emulsify smoothly.
The Ultimate Salted Caramel Chocolate Fudge Recipe Card
Salted Caramel Chocolate Fudge: The Ultimate Decadent Truffle Recipe
Ingredients
Equipment
Method
- Combine dark chocolate, condensed milk, and butter in a heavy saucepan over low heat. Stir until glossy and dense.
- Transfer the mixture to a bowl, cover with plastic wrap, and refrigerate for 30-45 minutes until pliable.
- Scoop 1.5 tbsp of fudge, roll into a ball, and create a well. Pipe in the salted liquid caramel.
- Pinch the fudge closed over the caramel and roll smooth to seal the liquid inside.
- Immediately press the top into Maldon sea salt and gold sprinkles while the fudge is still tacky.
Notes
If the caramel is too thin, chill it briefly before filling the fudge wells to prevent leaking.
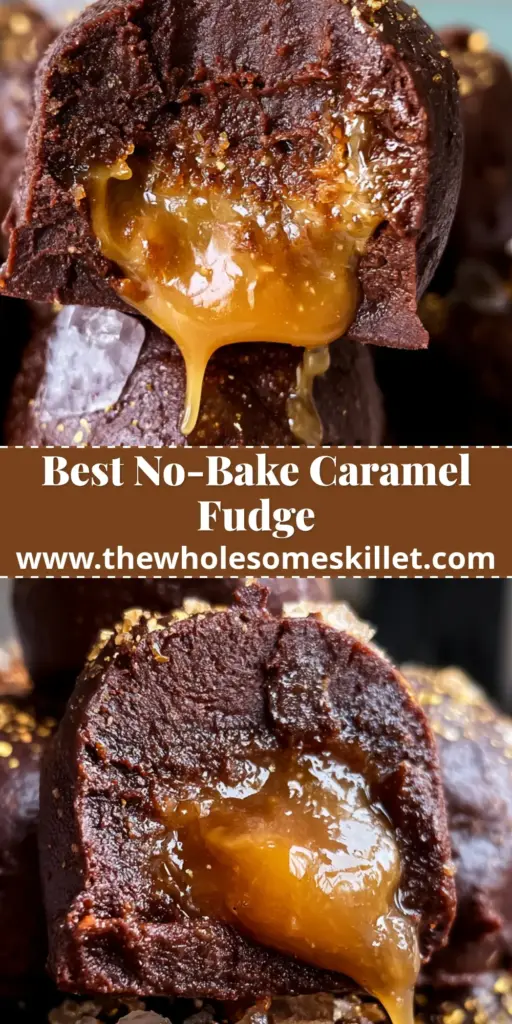
Share the Decadence!
Mastering the art of the liquid-center salted caramel chocolate fudge is a milestone for any home cook. The combination of dark, dense chocolate and the golden, salt-kissed caramel is truly unparalleled. If you enjoyed this recipe, please leave a comment below and share your results! Don’t forget to follow us on Pinterest for more visually stunning and scientifically sound dessert recipes. Happy whisking!