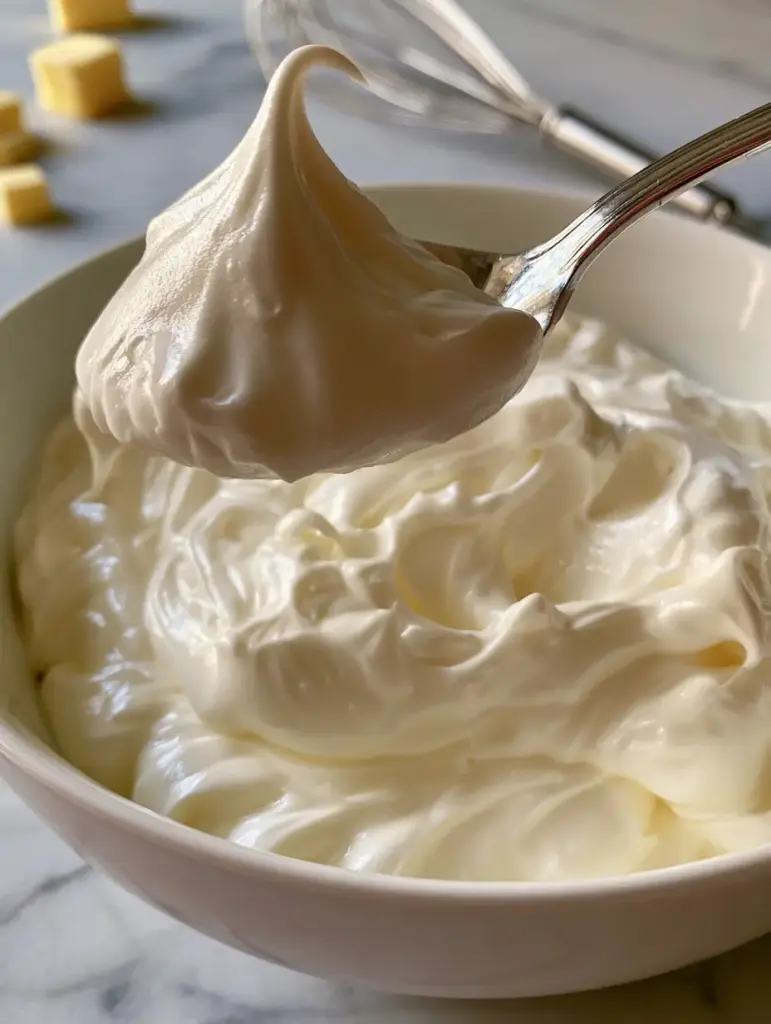
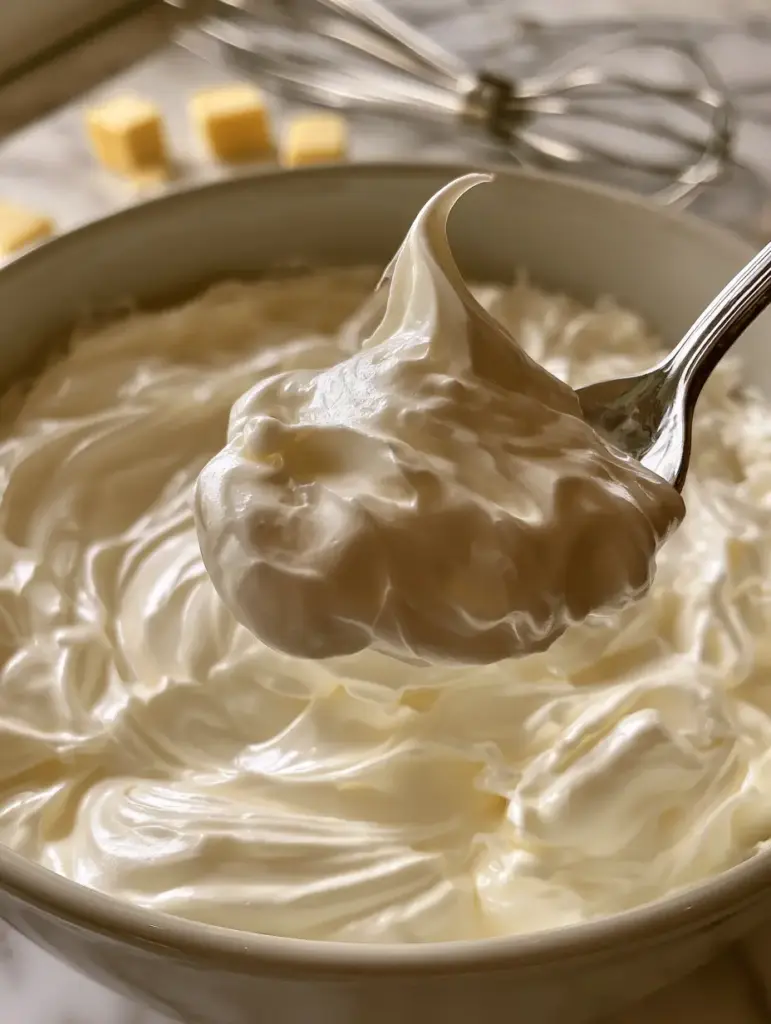
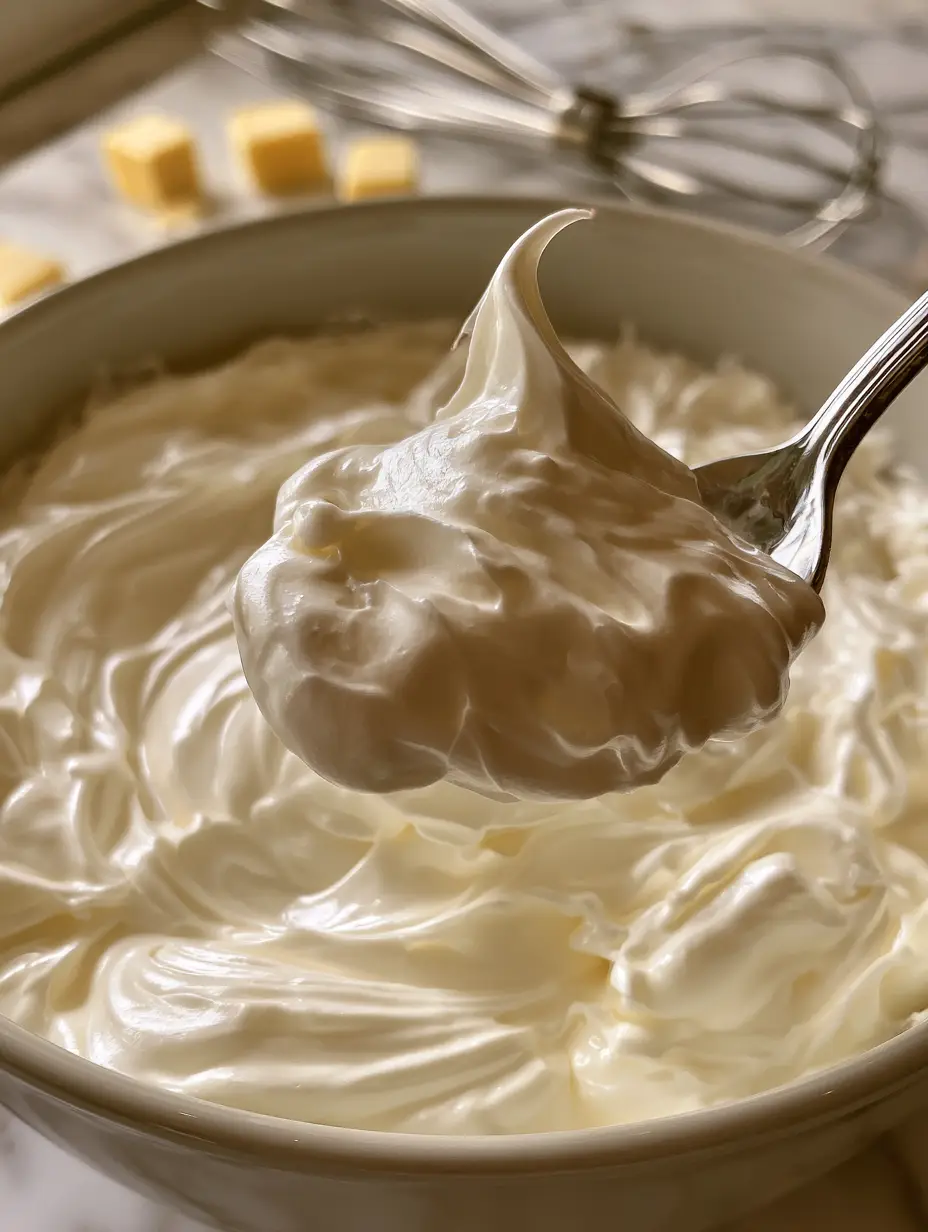
There is a specific moment in the kitchen that feels like pure alchemy: when a clear glass mixing bowl filled with syrupy egg whites transforms into a cloud of glossy, ivory-white Swiss meringue buttercream. As you lift a silver spoon, a thick, velvety dollop clings to the metal, showcasing those elusive stiff peaks that signify a perfectly stable emulsion. This isn’t just frosting; it is a professional-grade culinary masterpiece that elevates any dessert from home-baked to high-end patisserie.
If you have ever been intimidated by the process of heating egg whites or feared the dreaded “curdled” stage, you are in the right place. Our deep-dive into the science of Swiss meringue buttercream will ensure you achieve that signature smooth texture and luxurious mouthfeel every single time. Against the backdrop of a cool marble countertop, with golden butter cubes ready for emulsification, we will guide you through the sensory cues—from the rhythmic sound of the stainless steel wire whisk to the sight of the meringue turning into a brilliant, pearlescent white.
The Irresistible Allure of Professional Ivory Frosting
What sets Swiss meringue buttercream apart from its American counterpart is the sophisticated balance of sweetness and fat. While American buttercream relies on powdered sugar for structure, this version uses a cooked meringue base, resulting in a significantly less sweet, much smoother finish. Here is why this recipe will become your new gold standard:
- Unrivaled Texture: A velvety, buttery consistency that melts on the tongue without any grittiness.
- Visual Perfection: An elegant ivory-white hue that provides a clean, professional canvas for decorating.
- Stability: The cooked egg whites create a robust structure capable of holding intricate piped details and supporting heavy cake layers.
- Versatility: A neutral flavor profile that serves as the perfect base for infusions, extracts, or fruit reductions.
Foundational Elements for a Stable Emulsion
To achieve the hyper-realistic, high-detail finish seen in professional food photography, we must select our ingredients with forensic precision. Each component plays a vital role in the structural integrity and final gloss of the Swiss meringue buttercream.
Large Egg Whites (approx. 150g / 5oz): The proteins in the egg whites provide the essential architecture for the meringue; ensure there is not a single speck of yolk, as fat prevents the whites from foaming. Using fresh eggs rather than cartoned whites will yield a much more stable foam for those iconic stiff peaks.
Granulated White Sugar (1 1/4 cups / 250g): Sugar not only sweetens the frosting but also stabilizes the egg white proteins, preventing them from collapsing during the whipping process. As the sugar dissolves in the egg whites over heat, it creates the syrup that gives the frosting its characteristic gloss.
Unsalted Butter (1.5 cups / 340g): This should be high-quality, European-style butter if possible, cut into small golden butter cubes. The butter must be slightly cool to the touch—pliant but not greasy—to ensure it emulsifies into the meringue rather than melting it.
Pure Vanilla Extract (1 tbsp / 15ml): This provides the classic flavor profile that complements the rich buttery notes. If you desire a stark, brilliant white rather than an ivory tone, you can substitute clear vanilla or add a tiny drop of violet food coloring to neutralize yellow tones.
Fine Sea Salt (1/4 tsp / 1.5g): Often overlooked, salt is the “invisible” ingredient that cuts through the richness of the butter and enhances the complexity of the vanilla. It balances the sweetness, making the frosting taste multidimensional rather than one-note.
Essential Tools for Meringue Mastery
Achieving a professional result requires a few specific pieces of equipment that facilitate the temperature control and aeration necessary for Swiss meringue buttercream. Before you begin, ensure every tool is “squeaky clean”—any residual grease will ruin your meringue.
- Clear Glass Mixing Bowl: Ideal for a double boiler setup as glass conducts heat gently and allows you to monitor the water level beneath.
- Stainless Steel Wire Whisk: Necessary for the initial hand-whisking over the heat to ensure even temperature distribution.
- Stand Mixer with Whisk and Paddle Attachments: A stand mixer is non-negotiable for the long whipping times required to reach stiff peaks and cool the meringue.
- Digital Instant-Read Thermometer: The only way to guarantee the egg whites have reached a safe 160°F (71°C) while ensuring the sugar is fully dissolved.
- Silver Spoon: For that final quality check, lifting a dollop to inspect the velvety texture and stiff peaks.
The Science of the Perfect Peak: Step-by-Step Instructions
Step 1: The Bain-Marie Method
Begin by creating a double boiler. Place your clear glass mixing bowl over a saucepan filled with 1-2 inches (2.5-5cm) of simmering water, ensuring the bottom of the bowl does not touch the water. Combine the egg whites and granulated sugar in the bowl. Use your stainless steel wire whisk to stir constantly. You are looking for a specific sensory cue: the mixture will transition from cloudy and thick to translucent and thin. Once it reaches 160°F (71°C) and the sugar granules are no longer felt when rubbed between your fingers, remove from heat.
Step 2: Whipping to Stiff Peaks
Transfer the bowl to your stand mixer fitted with the whisk attachment. Start on low speed and gradually increase to medium-high. Watch as the mixture transforms into a voluminous, glossy, ivory-white foam. This process can take 10-15 minutes. Continue whipping until the outside of the bowl is completely cool to the touch and the meringue forms stiff, upright peaks that do not flop over when the whisk is lifted. This cooling phase is critical; if the meringue is warm, it will melt the golden butter cubes.
Step 3: The Emulsification Phase
Switch to the paddle attachment. With the mixer on medium-low, begin adding the cubes of butter one by one. This is where the culinary forensics come into play. As the fat integrates with the protein, the mixture may look curdled or soupy—this is normal. Keep the mixer running. The sound will change from a light “whish” to a heavy “slap” against the sides of the bowl as the emulsion stabilizes. Once all the butter is in, add the vanilla and salt, then whip on high for 2 minutes until it is incredibly smooth and velvety.
Step 4: Final Texturizing
To achieve the hyper-realistic, bubble-free finish often seen in handheld smartphone photos of professional cakes, turn the mixer to the lowest possible speed. Let the paddle stir the buttercream for 5-10 minutes. This “knocks out” the excess air bubbles, leaving you with a dense, silky frosting that is perfect for smoothing onto a decadent chocolate Swiss roll cake.
Expert Tips for Success
- The Vinegar Trick: Before starting, wipe down your glass bowl and whisk with a paper towel dampened with white vinegar or lemon juice to remove any trace amounts of fat.
- Temperature Control: If your buttercream looks like soup after adding butter, your meringue was too warm. Chill the bowl for 15 minutes, then continue whipping.
- Fixing Curdles: If the mixture looks like cottage cheese, it is too cold. Take out 1/4 cup (60ml) of the frosting, microwave it for 10 seconds to melt it, and pour it back in while the mixer is running.
- Patience is Key: Swiss meringue buttercream is a marathon, not a sprint. The transition from “curdled mess” to “velvety dollop” often happens in a matter of seconds after minutes of waiting.
Creative Pairings and Applications
This ivory-white Swiss meringue buttercream is a versatile workhorse in the kitchen. Its stability makes it the ideal candidate for filling delicate cream puffs or topping a rich German chocolate poke cake. The subtle sweetness allows it to pair beautifully with bolder flavors like a spiced Biscoff spread or even as a luxurious topping for caramelized air fryer bananas.
If you are looking for a flavor variation, consider folding in a fruit reduction to create a bright strawberry marshmallow buttercream. The structural integrity of the Swiss meringue base ensures that even with added liquid, the frosting remains pipeable and stable for hours at room temperature.
Storage, Reheating, and Freezing Advice
Swiss meringue buttercream can be made in advance, which is a lifesaver for busy home cooks. Store it in an airtight container in the refrigerator for up to 5 days or in the freezer for up to 3 months. When you are ready to use it, let it come to complete room temperature—this is vital. Once softened, place it back in the stand mixer with the paddle attachment and whip until it regains its velvety texture. Never attempt to whip it while it is still cold, or it will break and curdle.
Frequently Asked Questions
Yes! To achieve a bright white, use clear vanilla extract and add a microscopic drop of violet food coloring to neutralize the natural yellow tint of the butter.
Because the egg whites are cooked to a safe temperature, it can stay at room temperature for up to 2 days. For longer storage, refrigerate for 5 days or freeze for up to 3 months.
Curdling is a normal part of the process when the butter is cooler than the meringue. Keep whipping! If it doesn’t come together, melt a small portion of the frosting and whisk it back in.
If your frosting is soupy, your meringue or butter was likely too warm. Simply chill the entire bowl in the refrigerator for 15-20 minutes and then continue whipping until it thickens.
The Ultimate Swiss Meringue Buttercream Recipe
Swiss Meringue Buttercream: The Ultimate Guide to Silky Ivory Frosting
Ingredients
Equipment
Method
- Whisk egg whites and sugar in a glass bowl over a pot of simmering water until the temperature reaches 160°F (71°C) and sugar is dissolved.
- Transfer to stand mixer and whip on medium-high until the bowl is cool and glossy stiff peaks form (10-15 minutes).
- Switch to a paddle attachment and add golden butter cubes one at a time on medium-low speed.
- Add vanilla and salt, then whip on high until smooth. Switch to low speed for 5 minutes to remove air bubbles.
Notes
If the buttercream curdles, keep whipping—it just needs more time to emulsify.
Join The Wholesome Skillet Community
Mastering Swiss meringue buttercream is a rite of passage for any enthusiastic home cook. We hope this guide helps you achieve that perfect, glossy ivory finish that looks just as good as it tastes. If you enjoyed this recipe, please leave a comment below and let us know what you paired it with! Don’t forget to share your creations on Pinterest and follow us for more culinary deep-dives. Happy whisking!