There is something undeniably nostalgic about the snap of dark chocolate giving way to a moist, tropical center. These homemade bounty bars take that classic candy shop experience and elevate it with a sophisticated, gourmet twist. Forget the waxy, over-sweetened store-bought version; we are crafting a thick, decadent bar that balances rich cocoa with the creamy sweetness of real coconut.
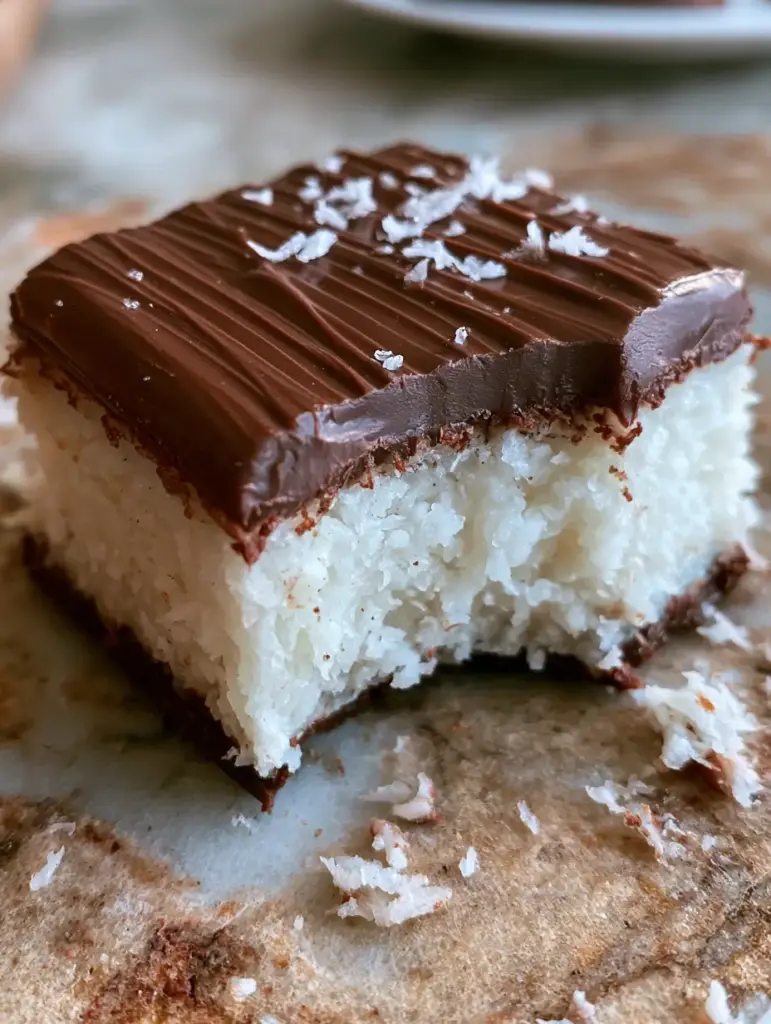
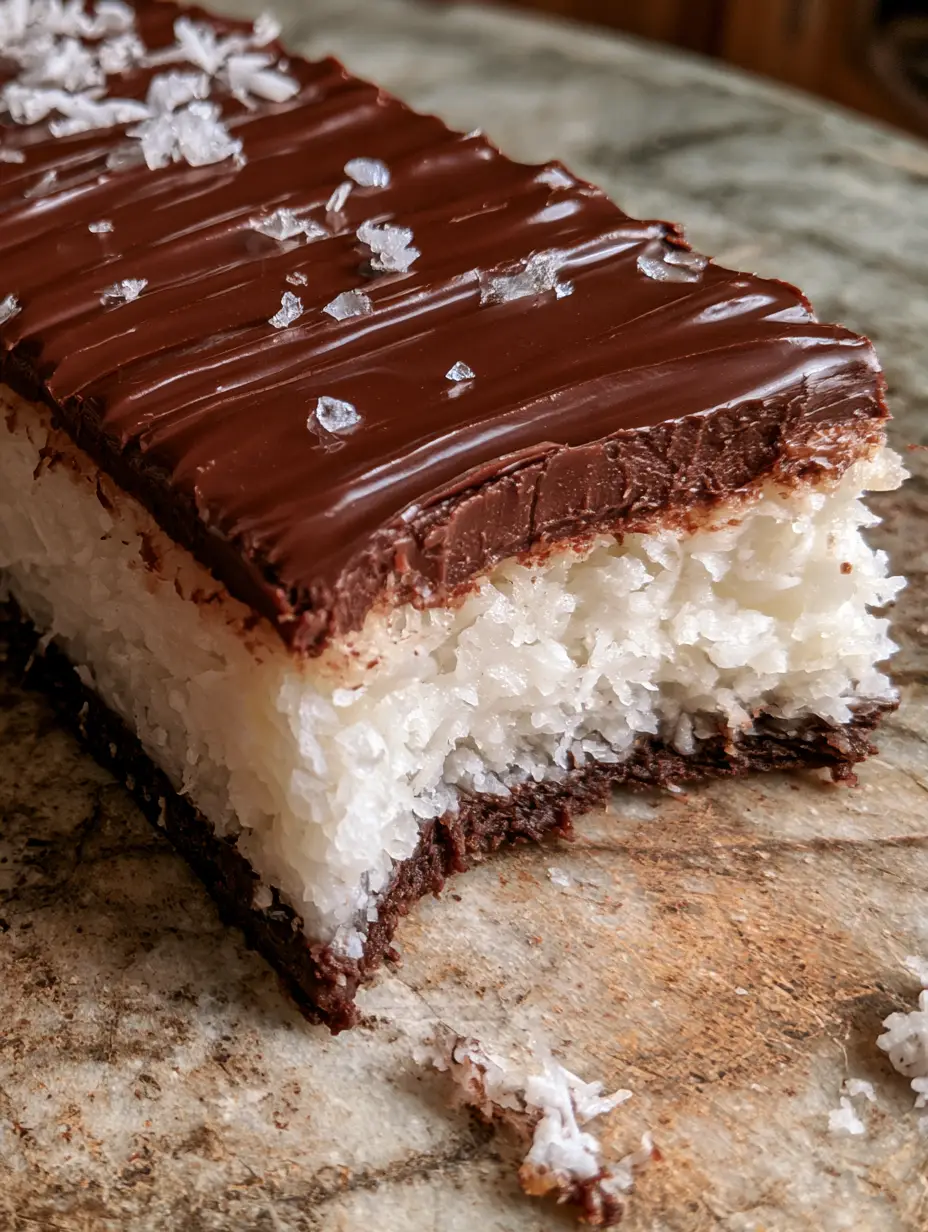
Imagine a handheld treat with a perfectly tempered dark chocolate base, a dense white coconut heart, and a thick, glossy rippled ganache top. Each bite offers a sensory explosion, especially when finished with a delicate crunch of flaky sea salt and the nuttiness of toasted coconut flakes. Whether you are a coconut devotee or a chocolate lover, this recipe delivers a professional-grade dessert right from your home kitchen.
Why You Will Crave These Three-Layer Coconut Treats
- Triple-Layer Texture: Experience the structural perfection of a thin chocolate bottom, a dense and moist middle, and a luxurious rippled ganache.
- Better-Than-Store-Bought Ingredients: We use high-quality dark chocolate and sweetened condensed milk to ensure a rich, creamy mouthfeel without artificial preservatives.
- Aesthetic Gourmet Finish: The combination of glossy ganache ripples and scattered sea salt makes these bars look like they belong in a high-end artisanal boutique.
- No-Bake Simplicity: Aside from a quick toast of the coconut flakes, this recipe relies on simple melting and chilling techniques.
The Foundation: Essential Ingredients and Strategic Substitutions
High-Quality Dark Chocolate: Use a bar with at least 60% cocoa for the base and ganache. This provides the sophisticated bitterness needed to balance the sweet interior.
Unsweetened Shredded Coconut: This is the bulk of your filling. Ensure it is finely shredded so the homemade bounty bars hold their shape when sliced.
Sweetened Condensed Milk: This acts as the binder, creating that iconic “moist and dense” texture. It provides both the sugar and the creaminess in one step.
Heavy Cream (Double Cream): Necessary for the ganache layer. When melted with chocolate, it creates the glossy, ripple-able consistency seen in the visual blueprint.
Flaky Sea Salt: Do not skip this! The salt cuts through the richness and enhances the floral notes of the coconut.
Toasted Coconut Flakes: These add a vital aromatic element. Toasting 2 tbsp (10g) of flakes in a dry pan until golden-brown provides the professional finishing touch.
Must-Have Tools for Candy Bar Success
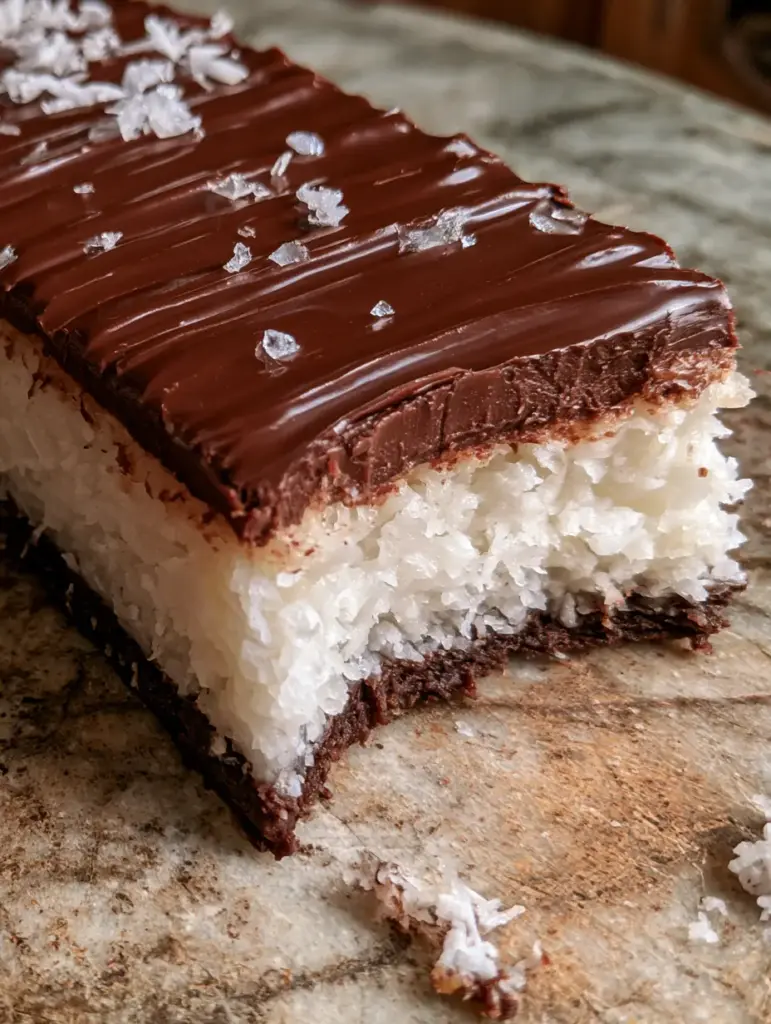
To achieve the clean, distinct layers shown in our high-end food photography, you will need an 8×8 inch (20x20cm) square baking pan. Lining this with parchment paper is non-negotiable for lifting the bars out without breaking the delicate chocolate base.
A small offset spatula is your best friend here. It allows you to smooth the coconut filling into the corners and create those signature ripples in the top chocolate layer. You will also need a heat-proof glass bowl for the double-boiler method to ensure your chocolate melts smoothly without scorching.
Step-by-Step Guide to Perfection
Crafting the Dark Chocolate Foundation
Begin by melting 4 oz (115g) of dark chocolate with 1 tsp (5ml) of coconut oil. The oil adds a slight suppleness to the chocolate, preventing it from shattering when you take a bite.
Pour the melted chocolate into your lined pan, spreading it into a very thin, even layer. Place the pan in the freezer for 10 minutes. You want this base to be completely firm before adding the heavy coconut filling.
Mixing the Dense Coconut Heart
In a large mixing bowl, combine 3 cups (225g) of shredded coconut with 14 oz (396g) of sweetened condensed milk and 1 tsp (5ml) of pure vanilla extract. Use a sturdy spatula to fold the mixture until every shred of coconut is hydrated.
Press this mixture firmly onto the chilled chocolate base. Use the bottom of a flat glass to pack it down hard. This ensures the “dense and moist” texture that makes homemade bounty bars so addictive. Like our coconut snowball bars, the key is a tight pack.
The Art of the Rippled Ganache Top
Heat 1/2 cup (120ml) of heavy cream until it just begins to simmer, then pour it over 6 oz (170g) of chopped dark chocolate. Let it sit for 5 minutes before whisking into a glossy, dark liquid.
Pour the ganache over the coconut layer. Wait about 3 minutes for it to slightly thicken, then use a spoon to create aesthetic ripples across the surface. While the chocolate is still wet, scatter your toasted coconut flakes and a generous pinch of flaky sea salt over the top.
The Final Chill and Precision Slicing
Place the entire pan in the refrigerator for at least 4 hours, or ideally overnight. This allows the ganache to set into a fudge-like consistency and the flavors to meld.
To get those “messy but aesthetic crumbs” and clean edges, dip a sharp knife in hot water and wipe it dry between every single cut. Slice them into thick rectangular bars to mimic the classic Bounty shape.
Expert Tips for the Professional Home Cook
- Squeeze the Moisture: If your coconut filling feels too wet, add an extra 1/4 cup (20g) of coconut. It should feel like damp sand that holds its shape when squeezed.
- Temper Your Expectations: If you want the bottom layer to stay snappy at room temperature, avoid adding too much oil to the chocolate.
- Toast Carefully: Coconut flakes turn from white to burnt in seconds. Stay by the stove and toss them constantly in a dry skillet over medium heat.
- Room Temp Serving: For the best texture, let the bars sit at room temperature for 10 minutes before serving. This softens the ganache slightly for that perfect “bite taken out” look.
Storage and Make-Ahead Instructions
These bars are the perfect make-ahead treat. Store them in an airtight container in the refrigerator for up to 2 weeks. The moisture from the sweetened condensed milk keeps the center from drying out.
For longer storage, you can freeze these bars for up to 3 months. Wrap them individually in plastic wrap to prevent freezer burn. They are actually quite delicious eaten straight from the freezer, reminiscent of a frozen dessert bar.
What to Serve with Homemade Bounty Bars
These rich bars pair beautifully with a bitter beverage to balance the sweetness. A hot cup of espresso or a dark roast coffee is the traditional choice. If you are serving these at a dessert party, they look stunning alongside raspberry coconut magic bars for a color contrast.
If you have extra shredded coconut, consider using it to top a German chocolate poke cake or creating a batch of toasted coconut vanilla bars to round out your tropical dessert platter.
Frequently Asked Questions
Yes, but desiccated coconut is much finer and drier. You may need to reduce the amount to 2.5 cups or add a bit more condensed milk to ensure the bars stay moist and don’t become crumbly.
Yes, because of the dairy in the condensed milk and the heavy cream in the ganache, these bars should be stored in the refrigerator to keep them fresh and maintain their structural integrity.
Wait for the ganache to cool for about 3-5 minutes until it is no longer runny but still soft. Use the back of a small spoon to gently swirl and lift the chocolate to create texture.
Yes, sweetened condensed coconut milk is a perfect 1:1 substitute that actually enhances the coconut flavor of these homemade bounty bars.
This usually happens if the chocolate is too cold or too thick. Adding a teaspoon of coconut oil to the melted chocolate helps it stay slightly flexible. Also, ensure you use a warm knife to slice through the layers.
The Complete Homemade Bounty Bar Recipe
Homemade Bounty Bars: The Ultimate Three-Layer Coconut Candy Recipe
Ingredients
Equipment
Method
- Melt the bottom layer dark chocolate and coconut oil together. Pour into a lined 8x8 pan and freeze for 10 minutes until firm.
- Combine shredded coconut, condensed milk, and vanilla. Press firmly over the chocolate base until it is a dense, flat layer.
- Make a ganache by pouring hot cream over chopped chocolate. Spread over coconut, create ripples with a spoon, and sprinkle with sea salt and toasted flakes.
Notes
Ensure the condensed milk is well-mixed with the coconut to prevent crumbling.
Closing & Call to Action
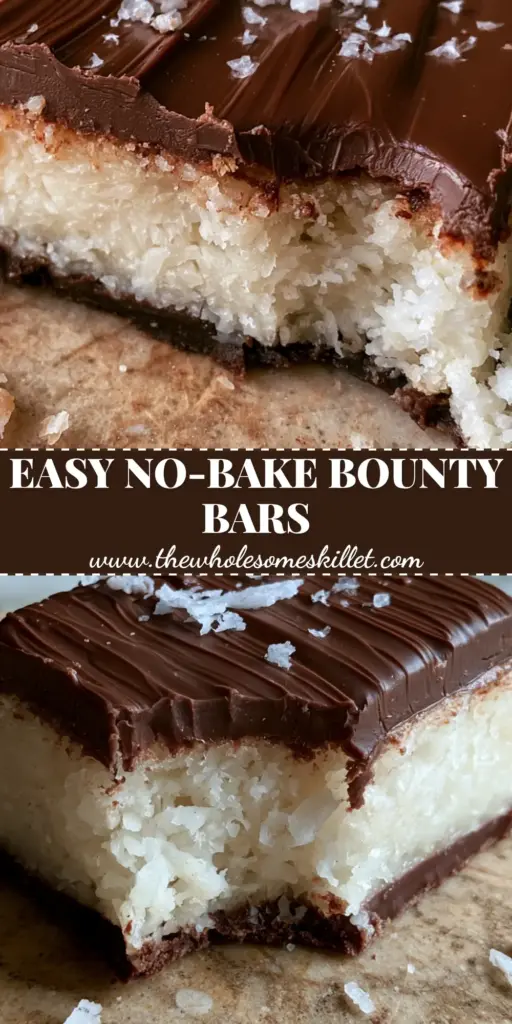
Making your own homemade bounty bars is a rewarding culinary project that results in a treat far superior to any candy bar found in a checkout aisle. The combination of the “rippled glossy top” and the “dense white middle” creates a visual and flavorful masterpiece that your friends and family won’t believe came from your kitchen.
If you enjoyed this recipe, please leave a comment below and let us know how your ganache ripples turned out! Don’t forget to snap a photo and share it on Pinterest so others can find this tropical delight.