There is a specific kind of culinary magic that happens when the nostalgic, comforting flavor of vanilla pudding meets the structural integrity of a professional bakery buttercream. If you have been searching for a pudding frosting that boasts a satin-like sheen, perfectly sharp piped edges, and an airy texture that melts on the tongue, you have arrived. This isn’t just a topping; it is a gourmet experience designed to elevate the humble cupcake into a work of art.
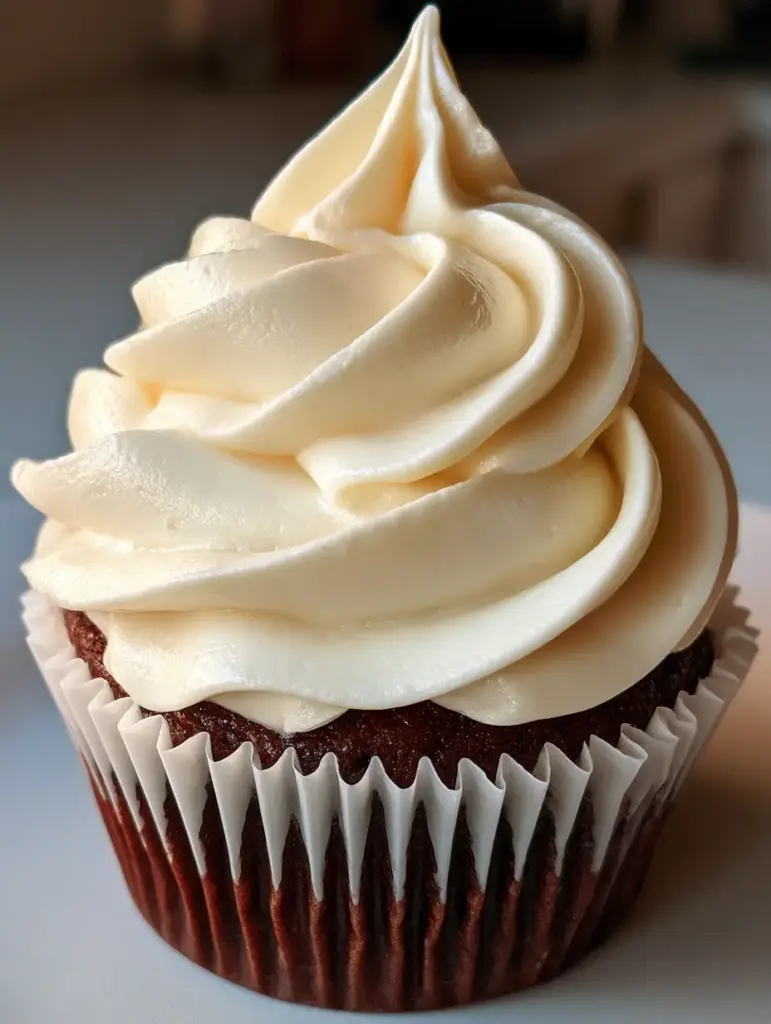
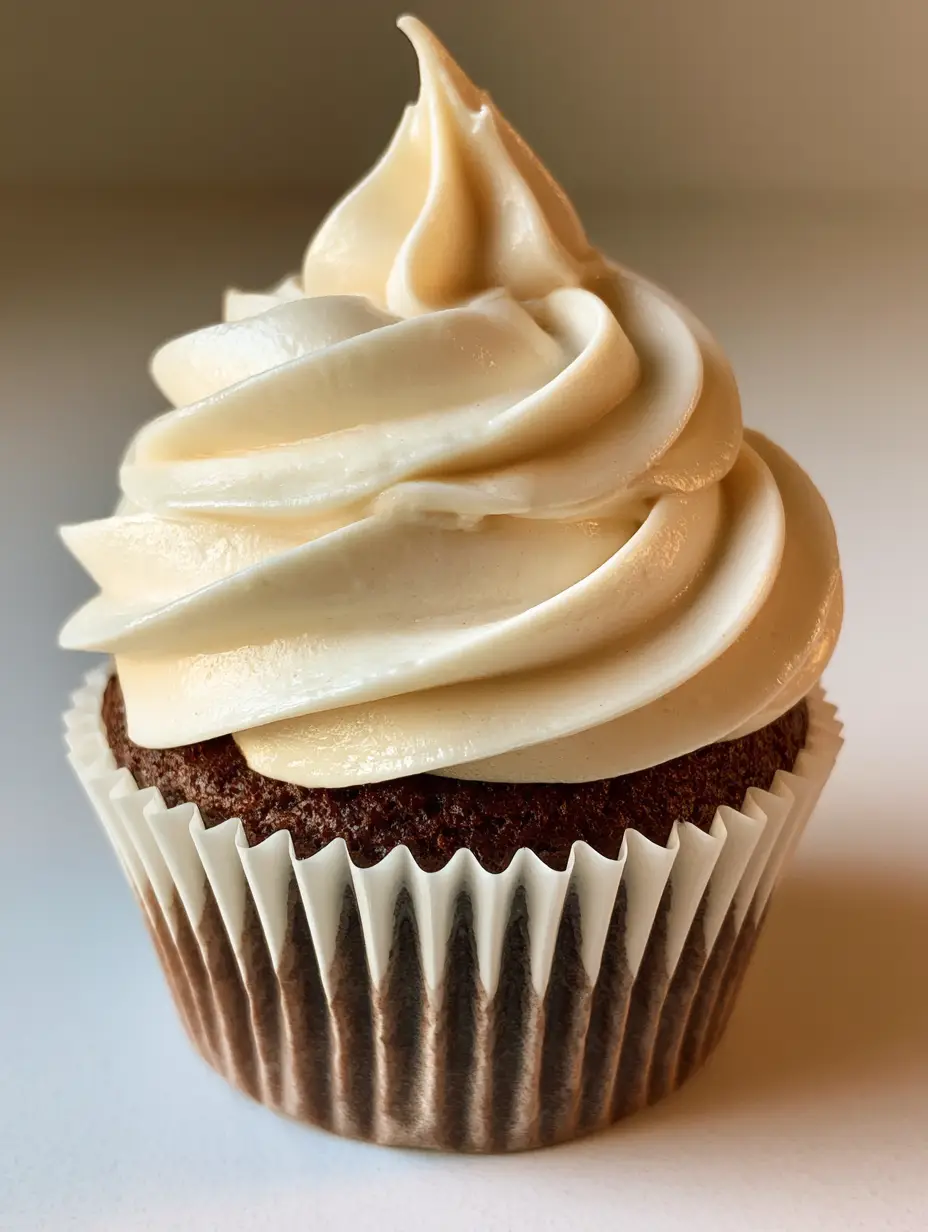
Imagine a handheld gourmet chocolate cupcake, its dark, moist sponge enveloped in a crisp white pleated liner. Now, crown it with a massive, luxurious swirl of pale cream-colored frosting, flecked with authentic vanilla bean specks. This recipe delivers exactly that visual and sensory result, combining the stability required for high-altitude swirls with the light-as-a-cloud mouthfeel of a classic mousse. Whether you are a professional decorator or a home baker looking to impress, this stabilized pudding buttercream is your new secret weapon.
Why This Silk-Textured Frosting Changes Everything
- Unrivaled Structural Integrity: Unlike whipped cream which collapses, or traditional American buttercream which can be overly sweet, this recipe holds “perfectly sharp piped edges” for hours at room temperature.
- Satin-Like Aesthetic: The inclusion of instant pudding mix creates a unique molecular bond with the fats in the butter, resulting in a luxurious sheen that glows under natural morning light.
- Visual Depth: The addition of real vanilla bean specks provides a high-end, gourmet look that contrasts beautifully against a dark chocolate cake base.
- Balanced Sweetness: By using the pudding mix as a base, we reduce the amount of powdered sugar needed, allowing the rich dairy notes of the whipped unsalted butter to shine through.
The Essential Components for a Gourmet Pudding Frosting
To achieve the “massive, luxurious swirl” seen in our visual blueprint, every ingredient must serve a specific functional purpose. We aren’t just mixing sugar and fat; we are creating an emulsion that remains stable under its own weight.
Whipped Unsalted Butter: You will need 2 cups (454g) of high-quality unsalted butter, softened to exactly 65°F (18°C). This provides the creamy foundation and the “pale cream color” that defines a gourmet finish.
Instant Vanilla Pudding Mix: One package (3.4 oz / 96g) of instant vanilla pudding mix is the secret stabilizer. It contains modified cornstarch which thickens the cold milk instantly, providing the “body” needed for those sharp piped edges.
Cold Whole Milk: 1 cup (240ml) of cold whole milk is required to rehydrate the pudding mix. The fat content in whole milk is non-negotiable here; it ensures the frosting remains moist and doesn’t develop a crusty exterior.
Powdered Sugar: 4 cups (500g) of finely sifted powdered sugar (confectioners’ sugar) provides the sweetness and additional structure. Sifting is vital to ensure the “satin-like sheen” isn’t interrupted by unsightly lumps.
Vanilla Bean Paste or Pods: To get those distinct vanilla bean specks, use 1 tbsp (15ml) of vanilla bean paste. This adds an aromatic depth that imitation extracts simply cannot replicate.
Pinch of Fine Sea Salt: A mere 1/4 tsp (1.5g) of salt is the “invisible” ingredient that cuts through the sugar and amplifies the dark cocoa notes of your chocolate cake base.
The Tools of the Trade: Achieving Professional Precision
To replicate the authentic, casual yet high-resolution aesthetic of a gourmet bakery, you need more than just a spoon. A stand mixer fitted with the paddle attachment is the most critical tool for incorporating air without creating large, unsightly bubbles. The paddle helps achieve that “light and airy” texture while keeping the frosting dense enough to hold its shape.
For the piping, a large open star tip or a plain round tip is necessary to create the “massive, luxurious swirl.” Using a high-quality piping bag allows for consistent pressure, which is how you achieve the “perfectly sharp piped edges” described in our visual prompt. If you’re looking for more inspiration on stable toppings, you might also enjoy my recipe for strawberry marshmallow frosting, which offers a similar airy stability with a fruity twist.
Mastering the Method: A Step-by-Step Guide to Perfection
Step 1: The Pudding Base Activation
In a medium mixing bowl, whisk together the 1 cup (240ml) of cold whole milk and the instant vanilla pudding mix. Whisk vigorously for two minutes until the mixture begins to thicken into a heavy gel. It is crucial that the milk is cold; this shocks the starches in the pudding mix, creating the immediate lift we need. Set this aside for 5 minutes to fully firm up.
Step 2: The Aeration of the Butter
In the bowl of your stand mixer, place the 2 cups (454g) of softened unsalted butter. Begin beating on medium-low speed with the paddle attachment to break the butter down. Increase to medium-high and whip for a full 5 minutes. You are looking for a visual transformation: the butter should turn from a yellow hue to a “pale cream-color” and look significantly increased in volume.
Step 3: Integrating the Components
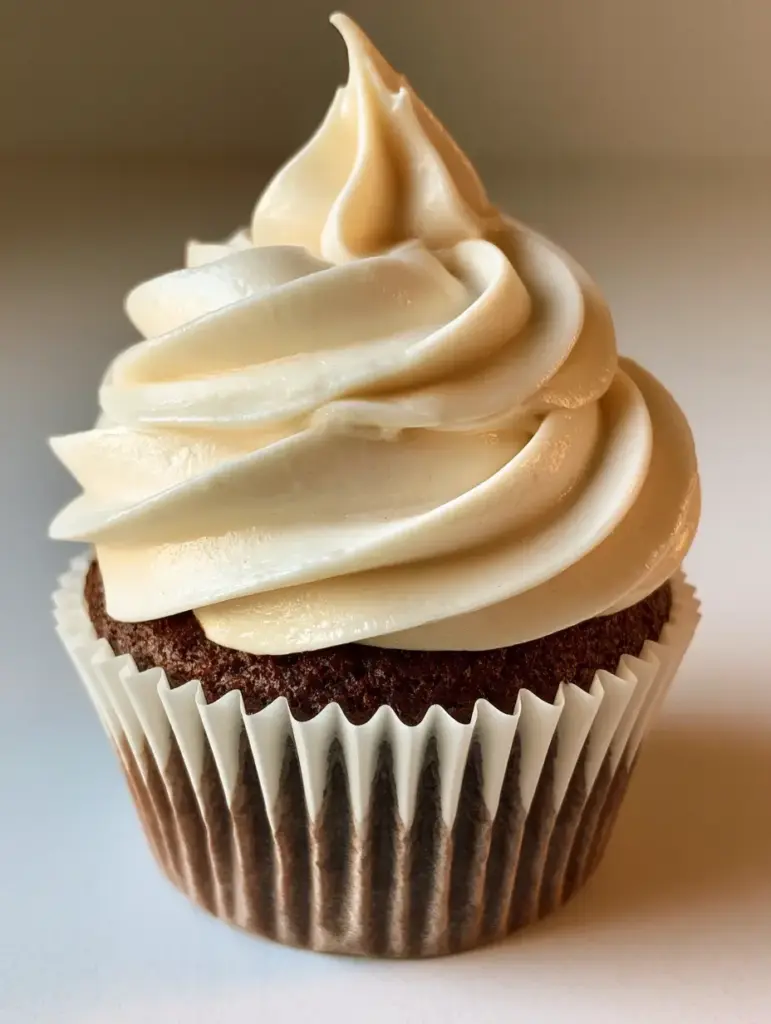
Reduce the mixer speed to low. Add the thickened pudding mixture one tablespoon at a time to the whipped butter. This is where the emulsion happens. If you add it too fast, the frosting may break or look curdled. Once all the pudding is in, add the vanilla bean paste, seeing those beautiful dark specks distribute evenly throughout the light cream base.
Step 4: The Final Polish
Gradually add the 4 cups (500g) of powdered sugar and the salt. Once incorporated, turn the mixer to high and whip for another 2 minutes. The frosting should now exhibit a “satin-like sheen.” Stop the mixer and use a rubber spatula to hand-fold the frosting for 30 seconds; this removes any large air pockets, ensuring that when you pipe, the edges are sharp and clean.
Expert Tips for a Flawless Finish
- Temperature Control: If your kitchen is too warm, your pudding frosting will lose its sharp edges. If the frosting feels too soft, chill the entire bowl for 15 minutes before the final whip.
- The Milk Factor: Never substitute skim milk. The lack of fat will result in a grainy texture rather than a “satin-like sheen.”
- Vanilla Speck Distribution: If using a real vanilla bean, scrape the seeds into the milk before adding the pudding powder to ensure even distribution.
- Dark Cake Contrast: For the best visual result, serve this on a dark chocolate sponge. The contrast between the dark cake and the pale frosting is what creates that “gourmet” look. If you love dark chocolate bases, check out my German chocolate poke cake for another decadent option.
Creative Pairings for Vanilla Pudding Frosting
While this frosting is a masterpiece on a chocolate cupcake, its versatility allows it to shine across many desserts. The light, airy nature makes it a perfect filling for homemade cream puffs, providing a more stable alternative to traditional diplomat cream. You can also use it to top caramelized air fryer bananas for a quick yet sophisticated weeknight treat.
For a different texture profile, try using this frosting as a layer inside raspberry coconut magic bars or as a dip for chocolate-dipped orange shortbread. The vanilla bean notes complement citrus and berry flavors exceptionally well.
Storage and Make-Ahead Advice
This frosting can be made up to 3 days in advance. Store it in an airtight container in the refrigerator. Because of the high butter content, it will firm up significantly when cold. To reuse, allow it to come to room temperature for 1-2 hours and then re-whip it briefly in the stand mixer to restore the “light and airy” volume.
We do not recommend freezing this specific pudding frosting, as the modified cornstarch in the pudding mix can sometimes weep moisture upon thawing, compromising the satin sheen and sharp edges.
Frequently Asked Questions
Absolutely! Simply swap the vanilla instant pudding mix for chocolate instant pudding mix and replace the vanilla bean paste with a tablespoon of high-quality cocoa powder for an extra deep flavor.
No, this recipe specifically requires instant pudding mix. The modified starches in instant mix react with cold milk to provide immediate stability, whereas cook-and-serve requires heat and will result in a runny frosting if used this way.
Yes, because it contains milk and a large amount of butter, cupcakes frosted with pudding buttercream should be stored in the refrigerator. However, for the best texture, let them sit at room temperature for 20-30 minutes before serving.
The key to sharp edges is temperature and aeration. Make sure your butter is at a cool room temperature (65°F) and whip it until very pale. If the frosting is too soft, chill it briefly before piping.
Graininess usually occurs if the powdered sugar wasn’t sifted or if the pudding mix didn’t fully dissolve in the milk. Ensure you whisk the milk and pudding for a full two minutes and let it sit before adding it to the butter.
The Ultimate Pudding Frosting Recipe
Pudding Frosting: The Ultimate Silk-Smooth Vanilla Buttercream Recipe
Ingredients
Equipment
Method
- In a medium bowl, whisk cold whole milk and instant pudding mix for 2 minutes until a thick gel forms. Let sit for 5 minutes.
- In a stand mixer, whip the softened butter on medium-high for 5 minutes until it becomes pale cream-colored and airy.
- Reduce mixer speed to low and add the pudding mixture one tablespoon at a time, ensuring a smooth emulsion.
- Add vanilla bean paste, salt, and powdered sugar. Whip on high for 2 minutes until a satin-like sheen appears. Hand-fold with a spatula to remove large air bubbles.
Notes
Ensure the butter is not too soft (oily) or the sharp piped edges will collapse.
Bring the Bakery Home
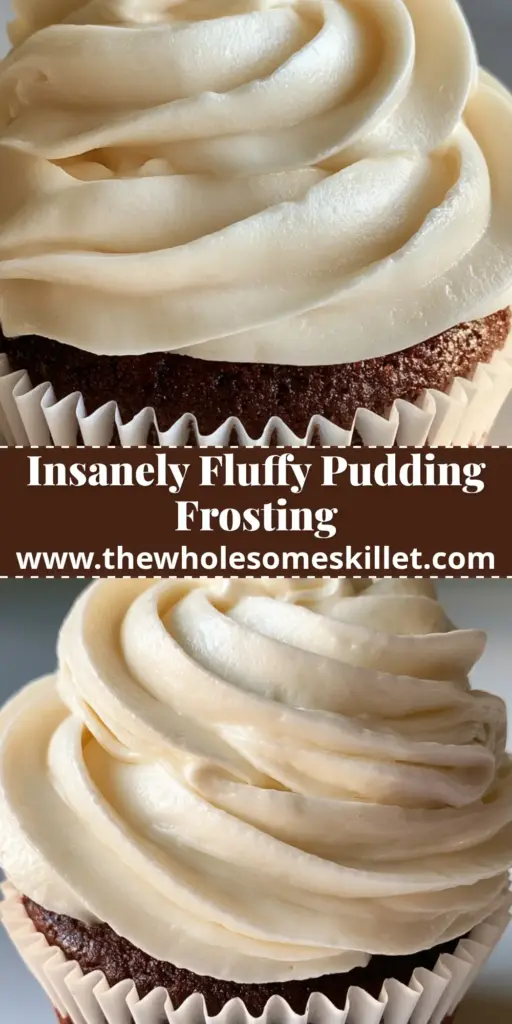
Creating a gourmet-standard cupcake doesn’t require a professional degree; it requires the right science and a bit of patience. This pudding frosting provides the perfect bridge between professional stability and homemade flavor. The next time you pull a batch of dark chocolate cupcakes from the oven, give them the royal treatment with these luxurious, vanilla-flecked swirls.
If you enjoyed this recipe, please leave a comment below and let us know how your piping turned out! Don’t forget to share your creations and follow us on Pinterest for more culinary inspiration.