There is nothing quite like the aroma of warm cinnamon and melting butter wafting through a cozy kitchen in the soft morning light. If you crave the indulgent, spiced flavors of a classic cinnamon roll but don’t want to spend hours waiting for dough to rise, these cinnamon roll bars are your new best friend. Imagine a thick, buttery base that melts in your mouth, topped with deep, dark brown swirls of cinnamon sugar that caramelize into gooey perfection.
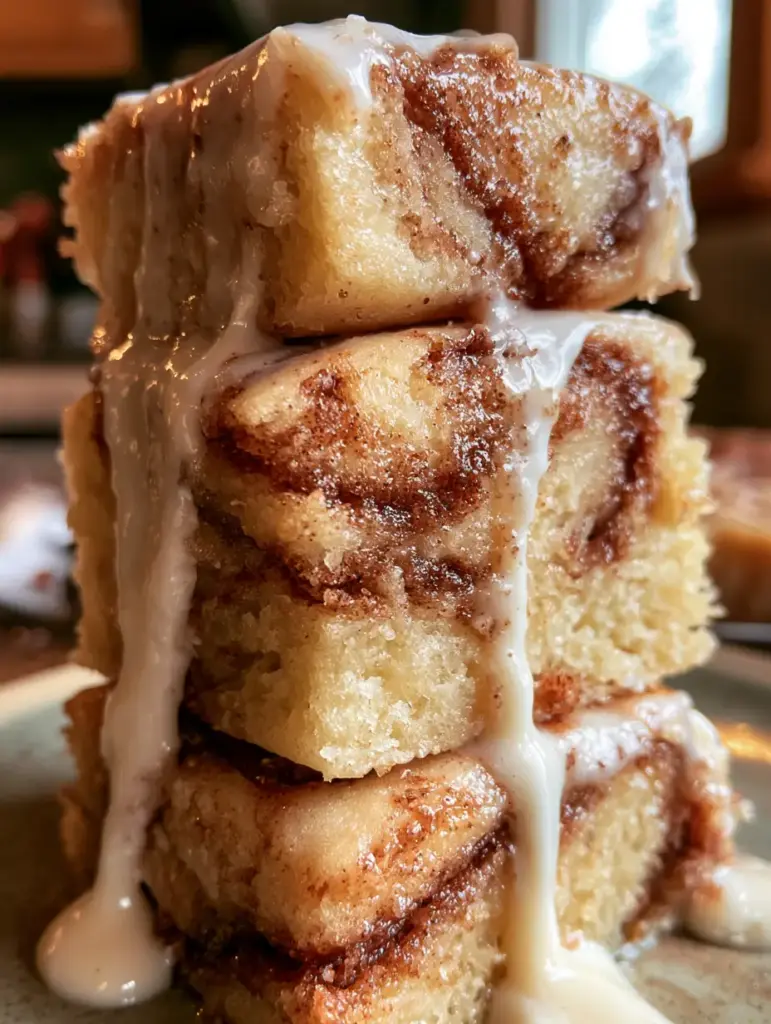
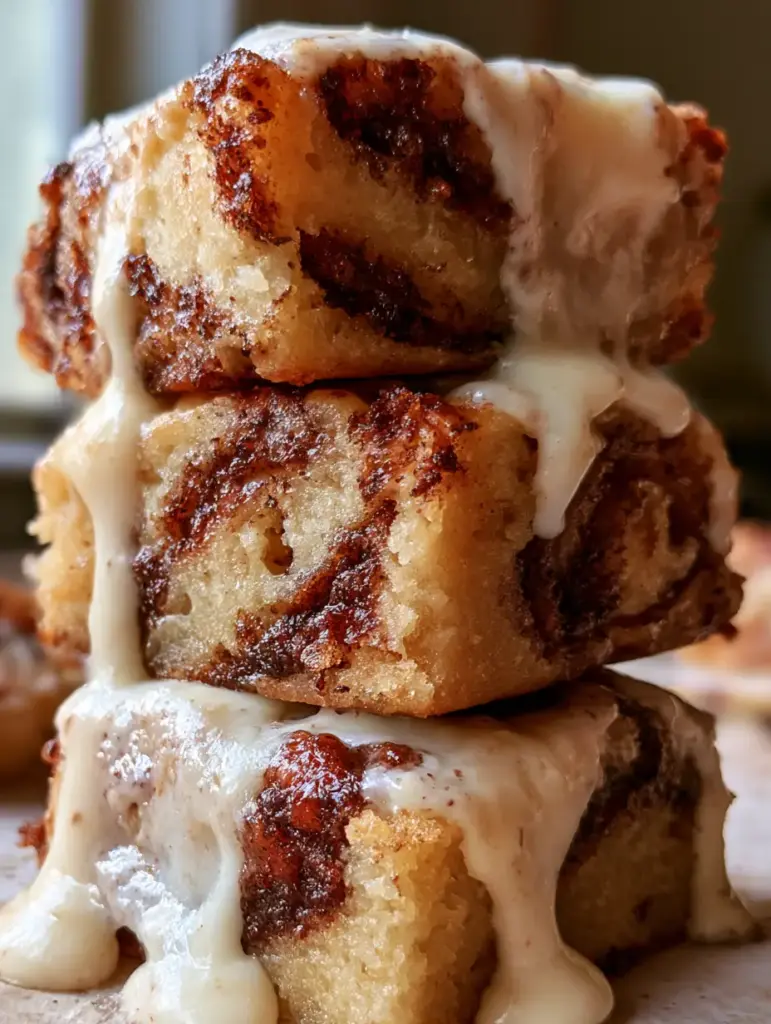
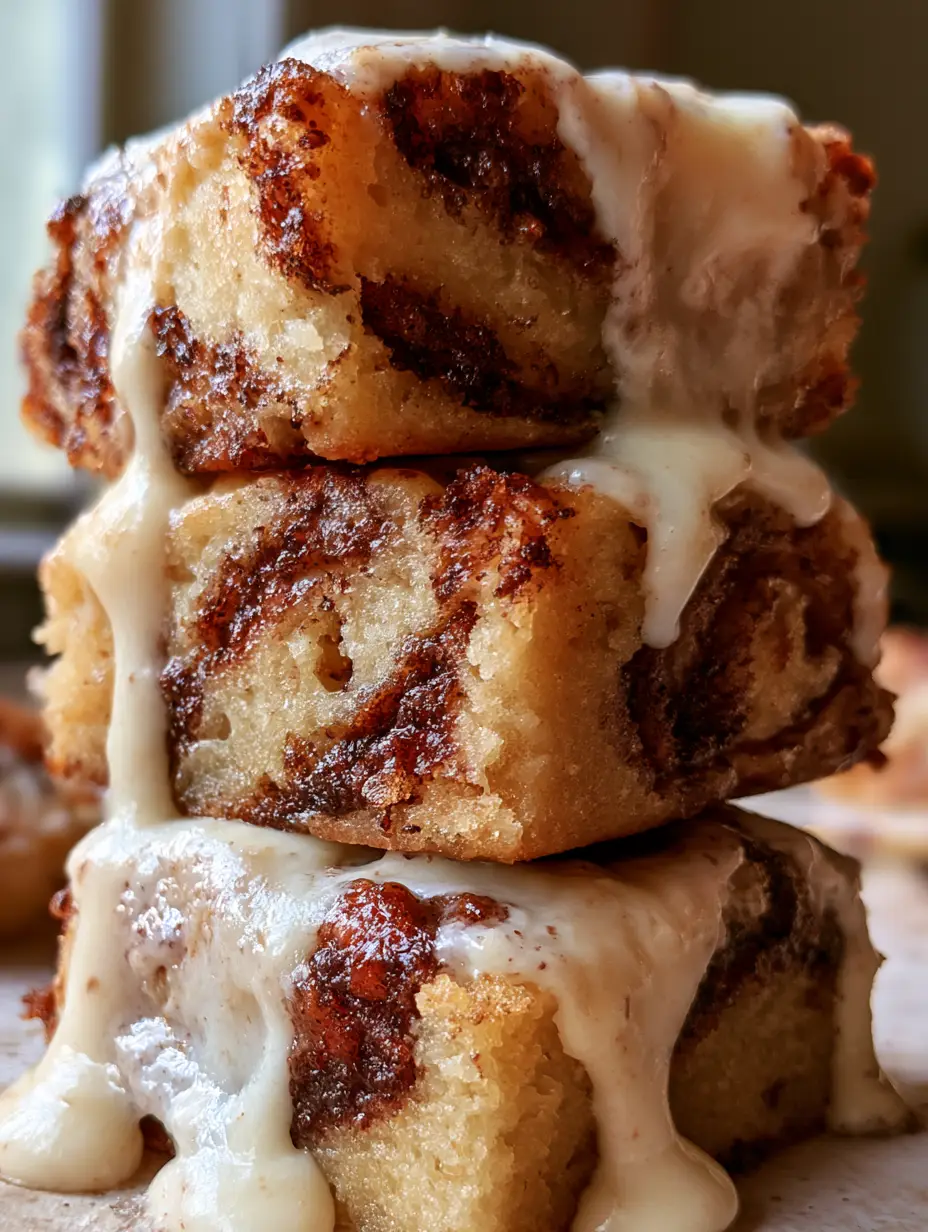
These bars aren’t just a dessert; they are a sensory experience captured in a handheld smartphone photo. When you stack three of these thick, gooey treats, you see the glossy white cream cheese frosting catching the natural light as it drips generously down the sides. The texture is moist, tender, and undeniably decadent, making it the perfect companion for a hot cup of coffee.
Whether you are preparing a weekend brunch or a late-night treat, these cinnamon roll bars bridge the gap between a soft cookie and a traditional pastry. By using high-quality salted butter and fresh ground cinnamon, we achieve a depth of flavor that mimics the best bakeries in the world. Let’s dive into the culinary science and techniques required to master this recipe in your own kitchen.
Why You Will Fall in Love With These Thick Cinnamon Roll Bars
- No-Yeast Convenience: Skip the proofing and kneading; these bars offer all the flavor of a cinnamon roll with the ease of a blondie.
- Forensic Texture Alignment: The crumb is specifically engineered to be moist and tender, ensuring every bite is soft and golden.
- Visually Stunning Drip: Our heavy cream-infused frosting creates that iconic, glossy white sheen that drips perfectly for your next social media post.
- Superior Spicing: We use a high ratio of dark brown sugar to ground cinnamon to create those deep, dark swirls that provide a visual and flavorful contrast to the buttery base.
Essential Pantry Staples for Perfect Cinnamon Bars
To achieve the bakery-quality result seen in our visual blueprint, we must select the right components. Each ingredient serves a scientific purpose in the structural integrity and flavor profile of the cinnamon roll bars.
All-Purpose Flour: 2 ½ cups (312g). This provides the necessary structure; be sure to spoon and level your flour to avoid a dry, crumbly bar.
Salted Butter: 1 cup (227g), softened. We use salted butter to balance the intense sweetness of the sugars, providing a rich, savory backbone to the dough.
Light Brown Sugar: 1 ½ cups (300g) divided. Brown sugar contains molasses, which is the secret to achieving that “deep, dark brown” swirl and a chewy, moist texture.
Granulated Sugar: ½ cup (100g). This helps the edges of the bars crisp up slightly while keeping the interior soft and tender.
Ground Cinnamon: 2 tbsp (15g). A generous amount of cinnamon is required to ensure the spice is prominent and the visual swirls are distinct.
Large Eggs: 2 units, room temperature. Eggs act as the emulsifier and leavening agent, giving the bars their “soft golden buttery base” and height.
Vanilla Extract: 1 tbsp (15ml). A high-quality extract enhances the floral notes of the cinnamon and the richness of the cream cheese.
Cream Cheese: 4 oz (113g), softened. This is the base of our glossy frosting, providing a necessary tang to cut through the sugar.
Powdered Sugar: 1 ½ cups (180g). Finely milled sugar ensures the frosting is smooth and free of grit.
Heavy Cream: 2-3 tbsp (30-45ml). This is the secret to the “glossy white” finish; it creates a pourable consistency that holds its shape as it drips.
Professional Tools for Success
To replicate the “vibrant and ultra-appetizing” look of our Midjourney prompt, you will need a few key tools. A 9×9 inch (23x23cm) square baking pan is essential for achieving that “thick” stack of bars. Using a smaller pan ensures the height seen in the photos.
I also recommend using parchment paper with an overhang. This allows you to lift the entire block of cinnamon roll bars out of the pan, ensuring clean, sharp edges when you slice them. A rubber spatula is your best friend for folding the cinnamon swirl without over-mixing, which preserves the “deep, dark brown” visual contrast.
Step-by-Step Instructions for the Perfect Cinnamon Swirl
Preparing the Golden Buttery Base
Start by preheating your oven to 350°F (175°C). In a large mixing bowl, cream together ¾ cup (170g) of the softened salted butter with the granulated sugar and ½ cup (100g) of the brown sugar. Beat until the mixture is pale and fluffy, which usually takes about 3 minutes.
Add the eggs one at a time, followed by the vanilla extract. Slowly fold in the all-purpose flour. The dough should be thick and tacky. Press two-thirds of this mixture into the bottom of your prepared pan, smoothing it into an even layer. This creates the foundational “soft golden base” described in our visual blueprint.
Creating the Deep Cinnamon Swirl
In a small bowl, melt the remaining ¼ cup (57g) of salted butter. Stir in the remaining 1 cup (200g) of brown sugar and the ground cinnamon until a thick, dark paste forms. This concentrated mixture is what creates the “deep, dark brown cinnamon sugar swirls” throughout the bars.
Drop spoonfuls of the cinnamon mixture over the base dough. Dollop the remaining plain dough in the gaps. Using a butter knife, gently swirl the two together. Be careful not to over-swirl; you want distinct ribbons of dark cinnamon visible against the golden dough.
Baking for Moist and Tender Results
Bake for 25-30 minutes. You are looking for a specific sensory cue: the edges should be a light golden brown and pulling away from the sides, but the center should still have a slight jiggle. This ensure the “moist and tender” crumb. Overbaking will lead to a dry bar, so err on the side of caution.
Whisking the Glossy Cream Cheese Frosting
While the bars cool, beat the softened cream cheese and powdered sugar together until smooth. Slowly add the heavy cream one tablespoon at a time. You want a consistency that is thick enough to coat a spoon but fluid enough to drip. This is the “thick, glossy white cream cheese frosting” that defines the final look.
Expert Tips for Bakery-Style Bars
- Room Temperature Ingredients: Ensure your eggs and cream cheese are at room temperature. This prevents the frosting from becoming lumpy and ensures the dough emulsifies correctly.
- The “Drip” Technique: Wait until the bars are only slightly warm before frosting. If they are too hot, the frosting will melt into the bars; if they are cold, it won’t drip down the sides as pictured.
- Clean Slicing: For the most “appetizing food photography” results, wipe your knife with a warm, damp cloth between every single cut. This keeps the white frosting from smearing into the dark cinnamon swirls.
- Enhance the Swirl: If you want even more contrast, add a pinch of cocoa powder to your cinnamon mixture. It won’t taste like chocolate, but it will deepen the dark brown color significantly.
Creative Pairings and Serving Suggestions
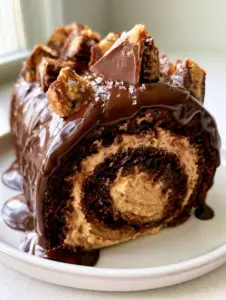
These cinnamon roll bars are incredibly versatile. For a balanced brunch spread, serve them alongside raspberry pistachio bars for a pop of color and tartness. If you are hosting a holiday gathering, they pair beautifully with peppermint dessert bars or even a slice of chocolate swiss roll cake.
For a tropical twist on your dessert table, consider adding some coconut snowball bars to the mix. The white coconut flakes complement the glossy cream cheese frosting perfectly. If you have leftovers, these bars are also delicious when crumbled over air fryer bananas for a quick, warm sundae topping.
Storage, Reheating, and Freezing
To maintain the moisture and tenderness of the bars, store them in an airtight container at room temperature for up to 2 days. Because of the cream cheese frosting, if your kitchen is warm, it is best to refrigerate them. They will stay fresh in the fridge for up to 5 days.
To reheat, place a bar in the microwave for 10-15 seconds. This softens the butter and makes the cinnamon swirl gooey again. You can also freeze the un-frosted bars for up to 3 months. Simply thaw at room temperature and apply a fresh batch of glossy frosting before serving.
Frequently Asked Questions
Yes! This recipe is specifically designed to be yeast-free. We use eggs and the creaming method to provide lift and structure, resulting in a thick, bar-style treat.
You can, but you will need to add 1/2 teaspoon of salt to the flour to ensure the flavors are balanced and the sweetness isn’t overwhelming.
The secret is adding heavy cream to the cream cheese frosting. Adjust the consistency until it is pourable but thick, and apply it while the bars are slightly warm.
Dryness is usually caused by over-baking or over-measuring the flour. Ensure you spoon and level your flour and pull the bars from the oven when the center still has a slight jiggle.
The Ultimate Cinnamon Roll Bars Recipe
Cinnamon Roll Bars: The Ultimate Gooey, Thick, and Easy Recipe
Ingredients
Equipment
Method
- Preheat oven to 350°F (175°C) and line a 9x9 inch baking pan with parchment paper.
- Cream 3/4 cup salted butter with granulated sugar and 1/2 cup brown sugar until fluffy. Add eggs and vanilla.
- Fold in the flour until just combined. Press 2/3 of the dough into the pan.
- Mix melted butter, 1 cup brown sugar, and cinnamon. Spoon over the base and dollop remaining dough. Swirl with a knife.
- Bake for 25-30 minutes until edges are golden. Cool before frosting.
- Whisk cream cheese, powdered sugar, and heavy cream. Drip over the cooled bars.
Notes
Do not over-bake to keep the texture moist and tender.
Closing & Call to Action
Mastering the art of the cinnamon roll bars is a journey of textures and aromas. From the “soft golden buttery base” to the “glossy white cream cheese frosting,” every element is designed to provide maximum indulgence with minimal effort. These bars are a testament to how simple pantry staples like flour, butter, and cinnamon can be transformed into a professional-grade dessert.
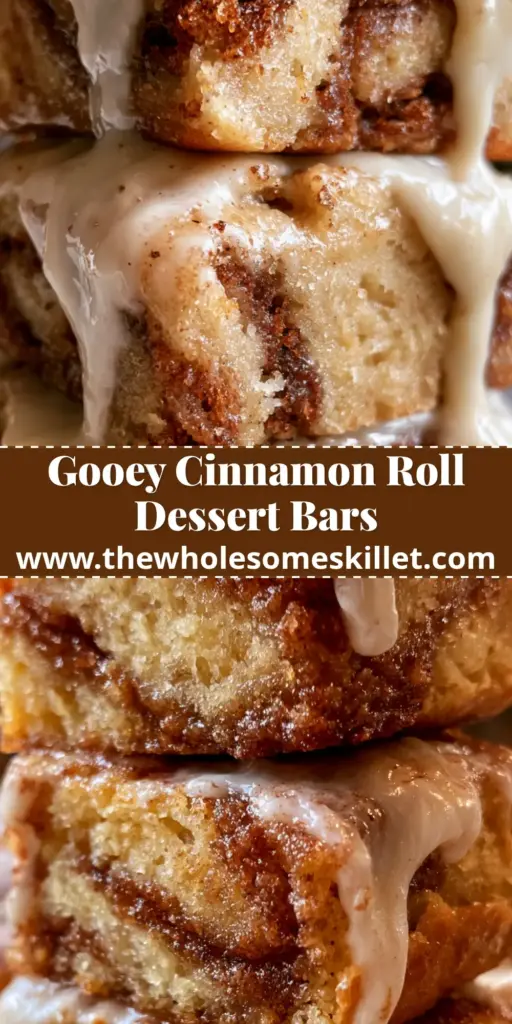
If you enjoyed this recipe, please leave a comment below and let us know how your swirls turned out! Don’t forget to share your photos and tag us. For more mouth-watering inspiration, follow us on Pinterest and pin this recipe to your favorite dessert board.