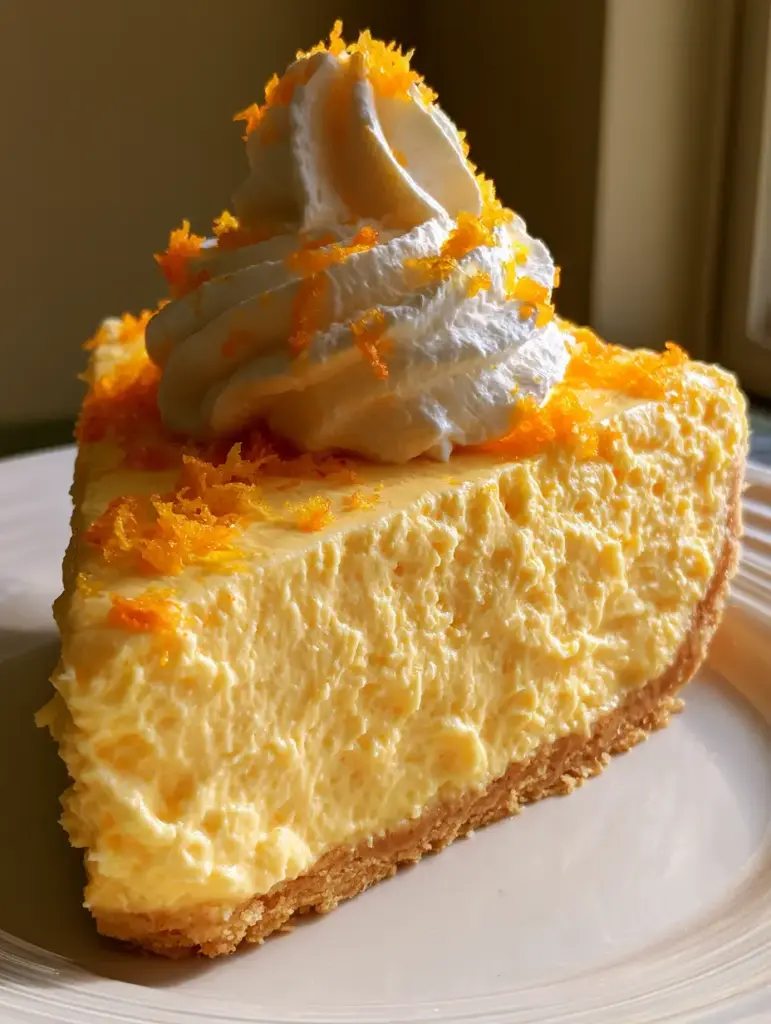
The orange dreamsicle pie is more than just a dessert; it is a nostalgic journey back to those warm summer afternoons spent chasing the ice cream truck. With its thick, airy, bright pastel orange mousse filling and its golden, buttery graham cracker crust, this pie captures the exact essence of the classic frozen treat. Every bite offers a symphony of citrus brightness and velvety creaminess that dissolves on the tongue.
In this recipe, we are bridging the gap between professional pastry arts and home-kitchen convenience. We have meticulously designed this pie to match a specific visual profile: a tall, fluffy swirl of white whipped cream contrasted against vibrant orange zest. Whether you are hosting a backyard barbecue or looking for a refreshing weeknight treat, this pie delivers high-impact flavor with minimal effort.
Why This Citrus Mousse Creation Is the Ultimate Crowd-Pleaser
- The Perfect Texture Balance: You will experience a structural marvel featuring a crunchy graham cracker base supporting a cloud-like mousse that holds its shape perfectly when sliced.
- Vibrant Natural Color: The bright pastel orange hue is achieved naturally through the combination of orange gelatin and citrus juice, creating a visually stunning centerpiece without heavy artificial dyes.
- Effortless Preparation: This no-bake (or lightly baked crust) method keeps your kitchen cool while delivering a professional-grade aesthetic.
- Sensory Citrus Blast: By utilizing both fresh orange juice and aromatic zest, we ensure the citrus notes are multi-dimensional, hitting both the top and mid-palate.
The Essential Components for Citrus Bliss
To achieve the “visual recipe blueprint,” we must select our ingredients with forensic precision. Here is what you will need to create the perfect orange dreamsicle pie.
Graham Cracker Crumbs: You will need 1.5 cups (180g) of finely crushed crumbs. These provide the structural foundation and a honey-like sweetness that complements the citrus.
Unsalted Butter: Use 6 tbsp (85g) of melted butter to bind the crust. This is one of those “invisible ingredients” that ensures the crust is golden and buttery rather than dry and crumbly.
Cream Cheese: You require 8 oz (225g) of full-fat cream cheese, softened to room temperature. This provides the “creamsicle” tang and the necessary fat for a stable, sliceable mousse.
Orange Gelatin: One 3 oz (85g) package is essential. It provides the signature bright pastel orange color and acts as the primary setting agent for the airy filling.
Fresh Orange Juice: Use 0.5 cup (120ml) of freshly squeezed juice. Unlike bottled juice, fresh juice contains enzymes and bright acidity that make the orange flavor pop.
Powdered Sugar: We use 0.75 cup (90g) to sweeten the cream cheese base. Powdered sugar is preferred over granulated because it contains a touch of cornstarch, helping the mousse maintain its height.
Whipped Topping: You will need 16 oz (450g) total—half for the filling to create that airy texture and half for the tall, fluffy swirls on top. If you prefer a more decadent finish, you could use a stabilized whipped topping for a different flavor profile, but for the classic look, stick to white.
Orange Zest: The zest of two large oranges provides the vibrant orange flecks seen in the macro photography. It contains the essential oils that give the pie its incredible aroma.
Tools for Achieving the Perfect Slice
To recreate the high-detail layers seen in professional handheld smartphone photos, you need the right gear. A 9-inch (23cm) deep-dish pie plate is non-negotiable to allow for that “thick, airy filling.” You will also need a microplane for the finest zest, a stand mixer or hand mixer to aerate the cream cheese, and a silicone spatula for folding. Folding is a critical technique; if you stir too vigorously, you will lose the “fluffy” quality described in the visual prompt.
Crafting the Buttery Graham Cracker Foundation
Prepping the Crust
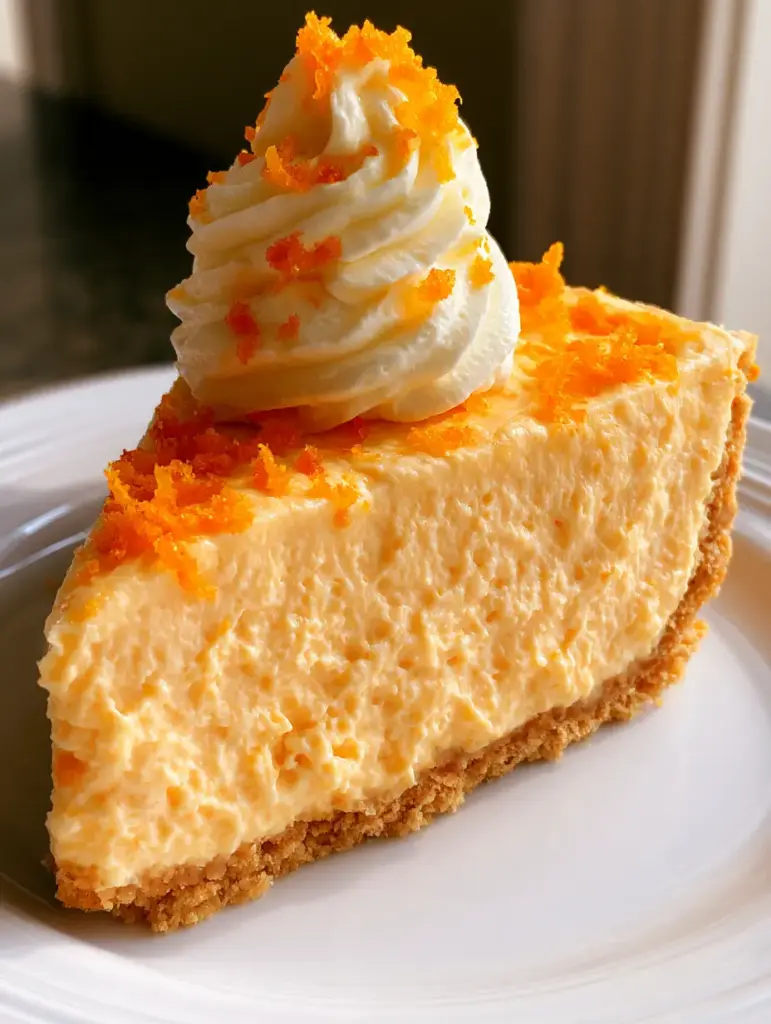
Combine your 1.5 cups (180g) of graham cracker crumbs with the melted butter and 2 tbsp (25g) of granulated sugar. Press the mixture firmly into the bottom and up the sides of your pie plate. For a “golden, buttery” look, bake the crust at 350°F (175°C) for 8-10 minutes. Let it cool completely before adding the filling to prevent the mousse from melting.
Blooming the Citrus Gelatin
In a small microwave-safe bowl, combine the 0.5 cup (120ml) of orange juice with the orange gelatin powder. Let it sit for 2 minutes to “bloom.” Heat in 30-second intervals, stirring until the gelatin is completely dissolved. This liquid gold is what gives the orange dreamsicle pie its iconic flavor and structural integrity.
Engineering the Fluffy Orange Mousse Filling
Aerating the Cream Cheese Base
In a large bowl, beat the 8 oz (225g) of cream cheese and 0.75 cup (90g) of powdered sugar until light and billowing. You are looking for a smooth texture with no visible lumps. Slowly stream in the slightly cooled gelatin mixture while continuing to beat on low speed. The mixture will look vibrant and liquid at this stage.
The Gentle Fold
Using a silicone spatula, gently fold in 8 oz (225g) of the whipped topping. This is where the magic happens. Use a “figure-eight” motion to incorporate the topping without deflating the air bubbles. Stop as soon as the mixture is a uniform bright pastel orange. Pour this into your cooled crust and smooth the top. Chill for at least 4 hours, though overnight is best for the cleanest macro-shot slices.
The Finishing Touches: Whipped Swirls and Zest
Once the pie is set, it is time for the aesthetic finish. Load the remaining whipped topping into a piping bag fitted with a large star tip. Pipe a “tall, fluffy swirl” of white whipped cream in the center or around the edges. Finally, sprinkle the vibrant orange zest generously over the top. The zest should look like tiny jewels catching the morning light.
If you love this texture but want something more tropical next time, consider trying a moist coconut cake or even a white chocolate coconut variant. However, for sheer nostalgia, nothing beats the orange and cream combination.
Pro Tips for Photographic Success
- Temperature Control: Ensure your cream cheese is truly at room temperature. If it is cold, you will get tiny white specks in your pastel orange filling, ruining the macro-shot aesthetic.
- The Clean Cut: To get a slice that looks like it belongs on a white plate in a window-lit room, dip your knife in hot water and wipe it clean between every single cut.
- Zest at the Last Minute: Add the fresh orange zest just before serving. This ensures the oils are fragrant and the color is at its most “vibrant.”
- Don’t Rush the Chill: The gelatin needs time to create a stable lattice. If you cut it too early, the “thick, airy” filling will slump.
Storing Your Citrus Masterpiece
This orange dreamsicle pie should always be stored in the refrigerator. Cover it loosely with plastic wrap or a pie dome, being careful not to crush the whipped cream swirls. It will stay fresh and delicious for up to 4 days. While you can freeze this pie, the texture of the whipped topping may change slightly upon thawing. If you do freeze it, eat it semi-frozen for a texture reminiscent of a real dreamsicle popsicle!
Perfect Pairings for a Summer Feast
If you are serving this at a dinner party, start the meal with something savory like garlic butter chicken pasta or a hearty steak and cheese potato dish. The brightness of the orange pie acts as a perfect palate cleanser after a rich meal. For a full dessert spread, this pie looks beautiful next to strawberry matcha cookies for a vibrant color contrast.
Frequently Asked Questions
Absolutely! Simply swap the standard graham crackers for your favorite gluten-free graham cracker brand to achieve the same buttery crust.
Yes, but you must stabilize it with gelatin or a stabilizer to ensure the ‘tall, fluffy swirls’ don’t deflate and the mousse stays airy.
Yes, you can freeze it for up to one month. For the best texture, serve it slightly thawed so it retains its creamy, mousse-like consistency.
The pie requires a minimum of 4 hours in the refrigerator, but for the most stable and clean slices, we recommend chilling it overnight.
This usually happens if the gelatin wasn’t fully dissolved or if the whipped topping was folded in while the gelatin mixture was still too hot.
The Ultimate Orange Dreamsicle Pie Recipe
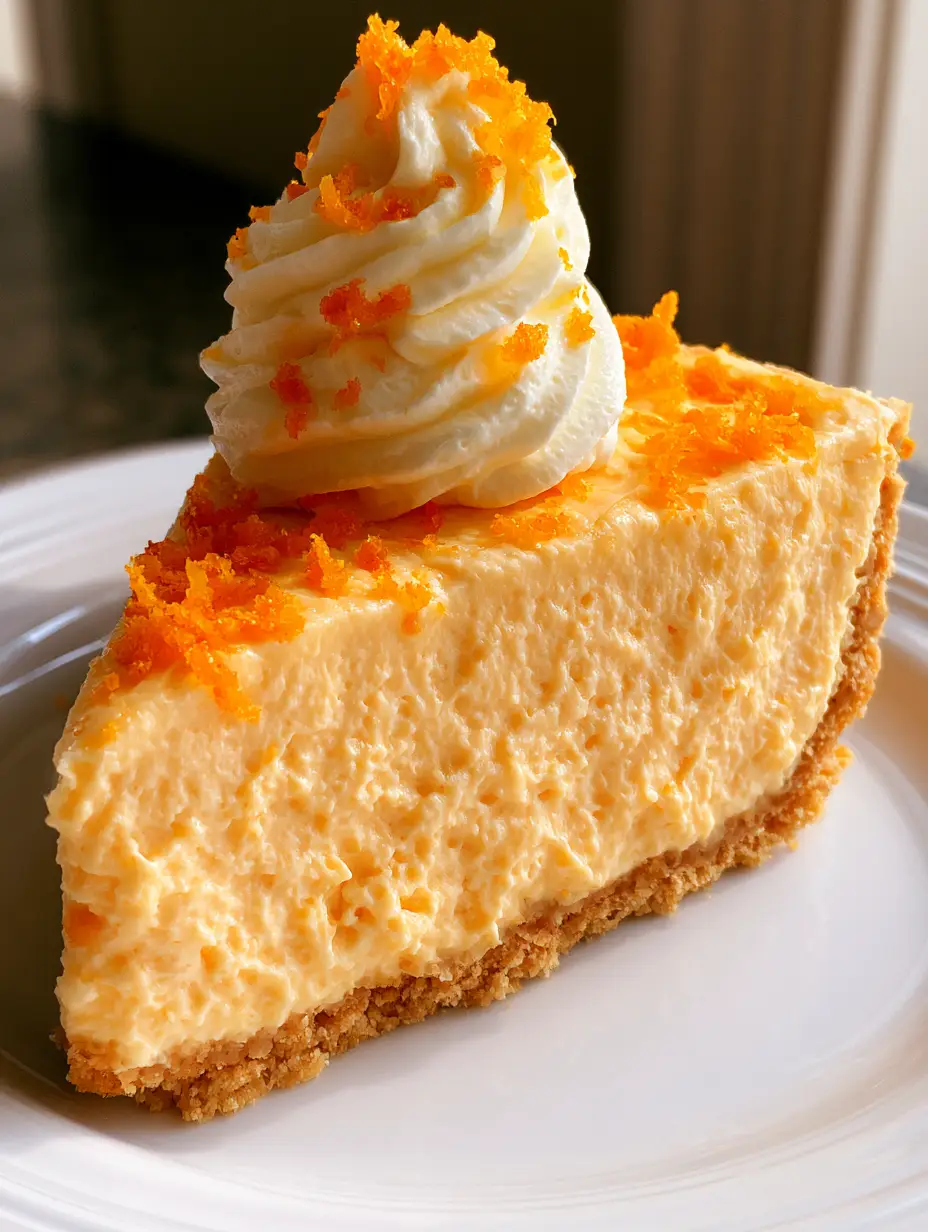
Orange Dreamsicle Pie: The Ultimate Creamy No-Bake Summer Dessert
Ingredients
Equipment
Method
- Combine graham cracker crumbs, melted butter, and sugar in a bowl until it resembles wet sand.
- Press into a 9-inch pie plate. Bake at 350°F (175°C) for 8 minutes. Cool completely.
- Mix orange juice and gelatin. Bloom for 2 minutes, then microwave for 30-60 seconds until dissolved.
- Beat cream cheese and powdered sugar until fluffy. Slowly add the gelatin mixture while mixing.
- Gently fold in 8 oz of whipped topping until a bright pastel orange color is reached. Pour into crust.
- Refrigerate for at least 4 hours until the mousse is firm and airy.
- Top with swirls of remaining whipped topping and vibrant orange zest before serving.
Notes
Use a hot knife for clean slices.
Join the Wholesome Skillet Community!
We hope this orange dreamsicle pie brings a burst of sunshine to your kitchen! The combination of the buttery crust and the airy mousse is truly a match made in heaven. If you made this recipe, please leave a comment below and tell us how it turned out. Don’t forget to snap a photo and tag us! For more visual inspiration, follow us on Pinterest and save this recipe to your favorite dessert boards.