When you combine the buttery crunch of a golden crust with the tart snap of fresh fruit, you create a dessert that is as visually stunning as it is delicious. These raspberry pistachio bars are the ultimate expression of contrasting textures, featuring a dense cheesecake layer topped with vibrant berries and earthy nuts.
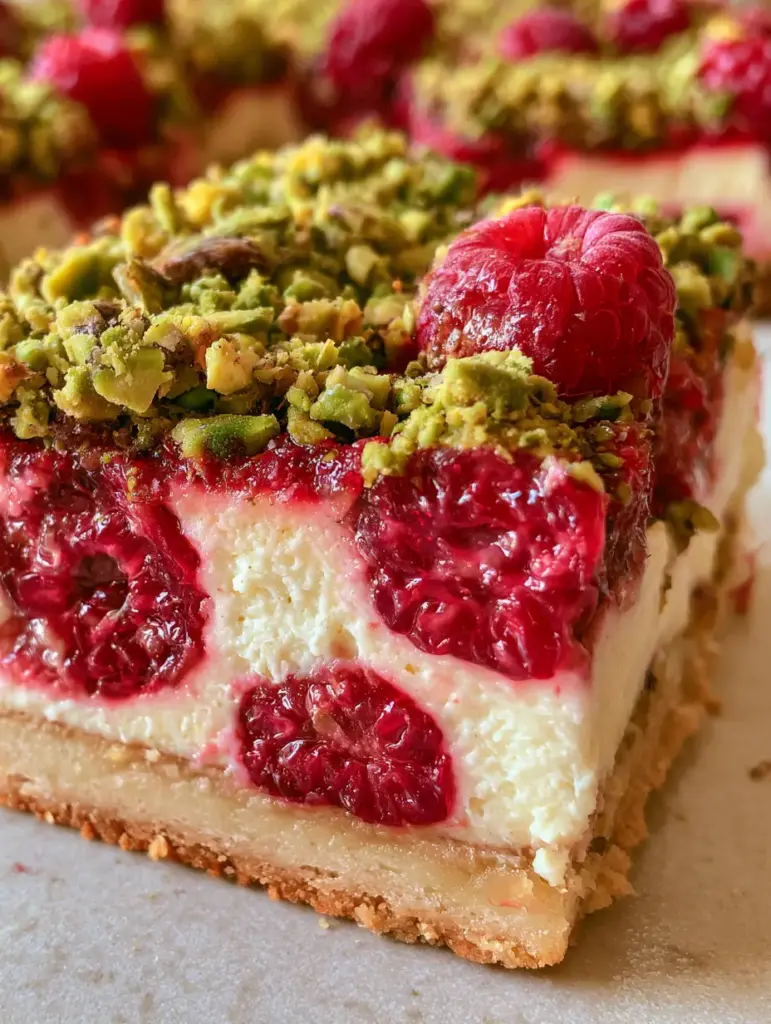
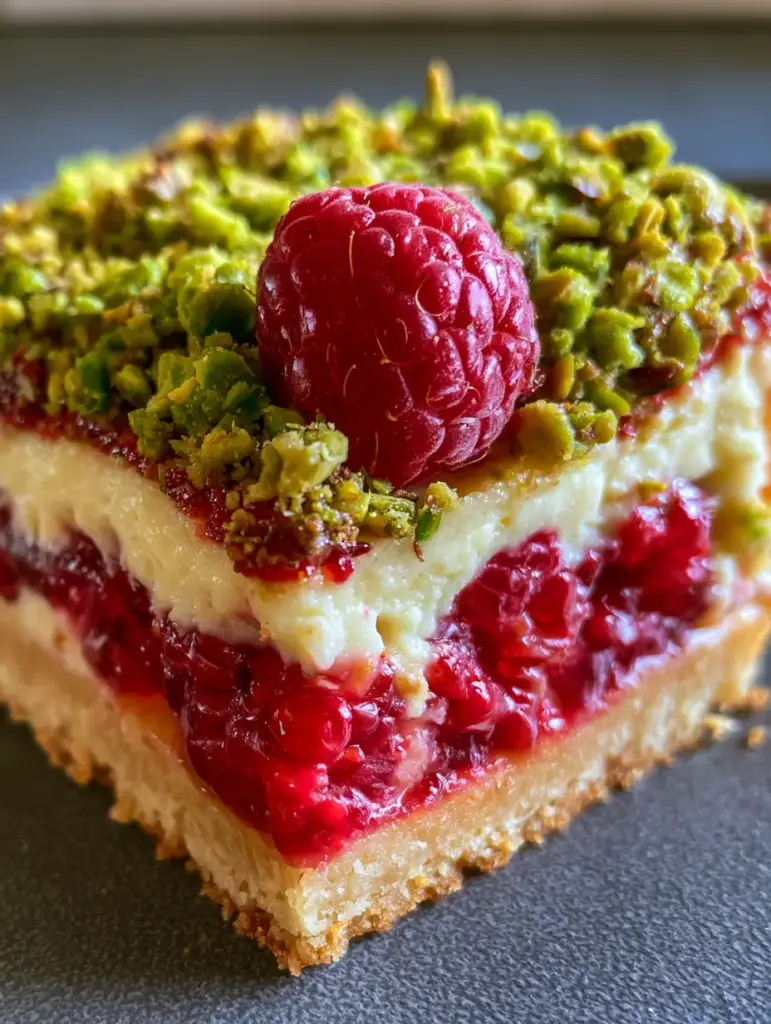
Inspired by the rustic elegance of a home kitchen, these bars look like they were plucked straight from a professional bakery window. The natural light hitting the glossy, red raspberries and the heavy coating of vibrant green pistachios creates a handheld masterpiece that is impossible to resist.
Whether you are hosting a garden party or simply want a sophisticated treat for the weekend, these bars deliver. Every bite offers a crumbly shortbread base, a smooth cream cheese center, and the sweet-tart explosion of whole berries finished with a decadent honey drizzle.
Why You Will Crave These Multilayered Raspberry Pistachio Bars
- Textural Harmony: Experience the satisfying snap of roasted pistachios against the silky smoothness of a dense cream cheese filling.
- Visually Striking: The bright red of the whole raspberries pops against the vibrant green of the coarsely chopped nuts, making these a centerpiece dessert.
- Perfectly Balanced: The buttery saltiness of the shortbread crust cuts through the sweetness of the honey drizzle and the tartness of the berries.
- Professional Results at Home: Using simple techniques like blind baking ensures a crust that stays crisp, never soggy, under the creamy layer.
The Essential Components for Success
To achieve the specific visual and flavor profile of these raspberry pistachio bars, each ingredient plays a critical role in the culinary chemistry of the dish.
Unsalted Butter: 1 cup (226g) of cold, cubed butter is the foundation of our shortbread. It provides the fat necessary for a crumbly, melt-in-your-mouth texture that supports the heavy toppings.
All-Purpose Flour: 2 cups (250g) of flour provides the structural integrity for the base. It ensures the bars can be handheld without falling apart, matching the “crumbly crust” visual cue.
Granulated Sugar: 1/2 cup (100g) for the crust and 1/2 cup (100g) for the filling. Sugar not only sweetens but also helps the crust brown into that specific “golden” hue mentioned in the blueprint.
Cream Cheese: 16 oz (450g) of full-fat cream cheese is non-negotiable for a “dense creamy white cheesecake layer.” Ensure it is at room temperature to avoid lumps.
Large Eggs: 2 large eggs act as the binder for the cheesecake layer. They provide the lift and set needed to hold the whole raspberries in place.
Fresh Red Raspberries: 2 cups (250g) of whole, fresh berries. The blueprint requires “bursting bright red fresh raspberries,” so avoid frozen ones as they will bleed too much juice into the cream.
Roasted Green Pistachios: 1 cup (125g) of shelled, roasted pistachios. The “heavy coating of vibrant crushed green pistachios” provides the essential crunch and color contrast.
Honey: 2 tbsp (30ml) of high-quality clover or wildflower honey. This “light honey drizzle” adds a glossy finish to the berries and helps the pistachio dust adhere.
Foundational Additions: You will also need 1/2 tsp (3g) of fine sea salt to enhance the nuttiness and 1 tsp (5ml) of vanilla extract for aromatic depth in the cheesecake layer.
Professional Tools for the Perfect Bake
Creating professional-grade raspberry pistachio bars requires the right equipment to ensure even heat distribution and clean edges.
An 8×8 inch (20×20 cm) square baking pan is ideal for achieving the “thick buttery shortbread crust” described. Use parchment paper with an overhang to easily lift the bars out for slicing.
A food processor is the most efficient way to cut the cold butter into the flour for the shortbread. If you don’t have one, a pastry cutter or two forks will work to achieve that sandy, crumbly texture.
An electric hand mixer or stand mixer is necessary to whip the cream cheese filling until it is perfectly smooth. This ensures the “white cheesecake layer” looks uniform and dense in the final handheld photo.
Mastering the Method: Step-by-Step Instructions
Follow these steps carefully to bridge the gap between the visual blueprint and a scientifically sound, edible dessert.
Phase 1: Crafting the Golden Shortbread Crust
Preheat your oven to 350°F (175°C). In your food processor, pulse the flour, 1/2 cup sugar, and salt until combined. Add the cold, cubed butter and pulse until the mixture looks like coarse crumbs with some pea-sized pieces remaining.
Press the mixture firmly into the bottom of your prepared baking pan. You want a flat, even layer to ensure the “thick buttery shortbread crust” is consistent. Bake for 18-20 minutes until the edges are just starting to turn a light golden brown. Let it cool slightly while you prepare the filling.
Phase 2: The Silky Cheesecake Layer
In a large bowl, beat the room-temperature cream cheese and remaining 1/2 cup sugar until light and fluffy. This usually takes about 3 minutes of high-speed mixing. Add the eggs one at a time, followed by the vanilla, mixing on low speed just until combined to avoid incorporating too much air.
Pour the cream cheese mixture over the partially baked crust. Use a spatula to smooth the top so it is perfectly level. This creates the “dense creamy white cheesecake layer” that serves as the canvas for your toppings.
Phase 3: The Vibrant Fruit and Nut Topping
Now, take your fresh whole raspberries and press them gently into the top of the cream cheese filling. You want them to stay mostly on the surface so they remain “glossy” and “bright red” after baking. Do not submerge them completely.
Bake for another 25-30 minutes. You are looking for the edges to be set, but the center should still have a slight, uniform jiggle. The filling will firm up as it cools, maintaining that dense texture we desire.
Phase 4: The Finishing Touches
While the bars cool, take your roasted pistachios and coarsely chop them. You want a variety of sizes—some dust and some larger chunks—to match the “heavy coating” visual. Once the bars have cooled to room temperature, sprinkle the pistachios generously over the top.
Finally, take your honey and lightly drizzle it in a zigzag pattern over the raspberries and nuts. This adds a beautiful shine and a touch of floral sweetness that ties the raspberry pistachio bars together perfectly.
Expert Tips for Bakery-Quality Results
- Room Temperature is Key: Ensure your cream cheese and eggs are at room temperature before mixing. This prevents lumps and ensures the filling is “smooth” and “creamy.”
- Don’t Over-Bake: Over-baking causes cheesecake layers to crack and lose their dense, fudge-like quality. Pull them out when the center still jiggles slightly.
- The Clean Cut: For the perfect “handheld smartphone photo” look, chill the bars for at least 4 hours (or overnight) before slicing. Use a hot, wet knife and wipe it clean between every single cut.
- Toast Your Nuts: Even if you bought roasted pistachios, a quick 3-minute toss in a dry skillet can revive the oils and make the “vibrant green” color pop even more.
What to Serve with Dessert Bars
These raspberry pistachio bars are a standout on their own, but they also pair beautifully with other items for a full dessert spread. If you enjoy the combination of fruit and nuts, you might also like a raspberry pistachio layer cake for a more formal occasion.
For a tropical twist on the bar format, consider serving these alongside raspberry coconut magic bars. If you are a fan of the creamy filling, our raspberry cheesecake danishes are a wonderful breakfast alternative.
To round out a dessert platter with different textures, the crunch of these bars contrasts perfectly with the softness of white chocolate raspberry fudge or the unique profile of a pistachio tiramisu.
Frequently Asked Questions
It is not recommended. Frozen raspberries release too much moisture as they thaw, which can make the cheesecake layer soggy and cause the colors to bleed. For the vibrant red, glossy look in the blueprint, stick with fresh berries.
Yes, you can freeze them for up to 3 months. However, for the best visual appeal, add the fresh pistachio coating and honey drizzle after thawing to maintain the crunch and gloss.
Buy high-quality, lightly roasted pistachios. If they look dull, quickly toast them in a dry pan for 2-3 minutes to draw out the natural oils and enhance the vibrant green color before chopping.
Chill the bars completely for at least 4 hours. Use a sharp knife dipped in hot water, wiped dry between every cut. This ensures the white cheesecake layer remains distinct and smear-free.
Cracking is usually caused by over-baking or over-mixing the eggs. Ensure you mix on low speed once eggs are added and pull the bars from the oven while the center still has a slight jiggle.
The Ultimate Raspberry Pistachio Bar Recipe
Ready to bake the most beautiful bars in your repertoire? This recipe combines the forensic accuracy of our visual blueprint with professional culinary science to ensure your final product looks exactly like the handheld photo—bright, glossy, and irresistibly crumbly.
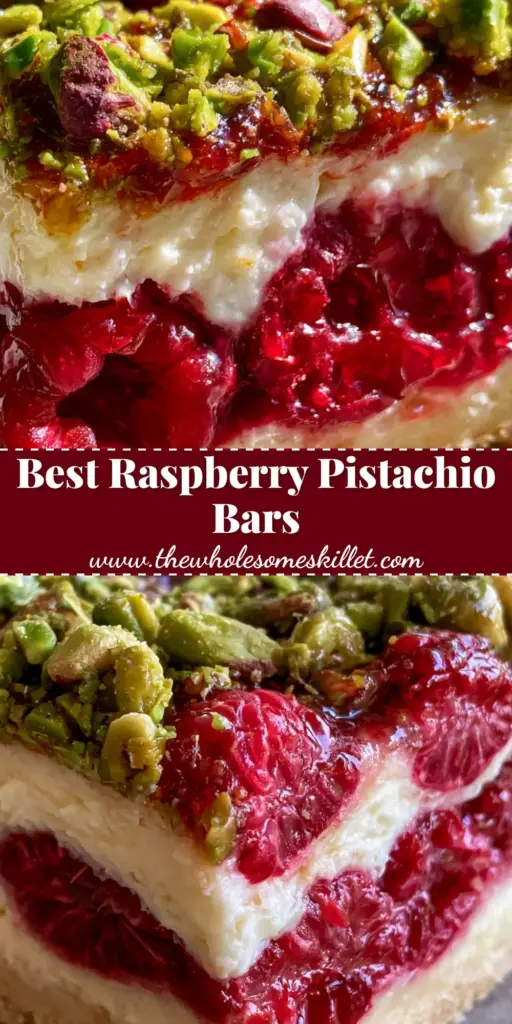
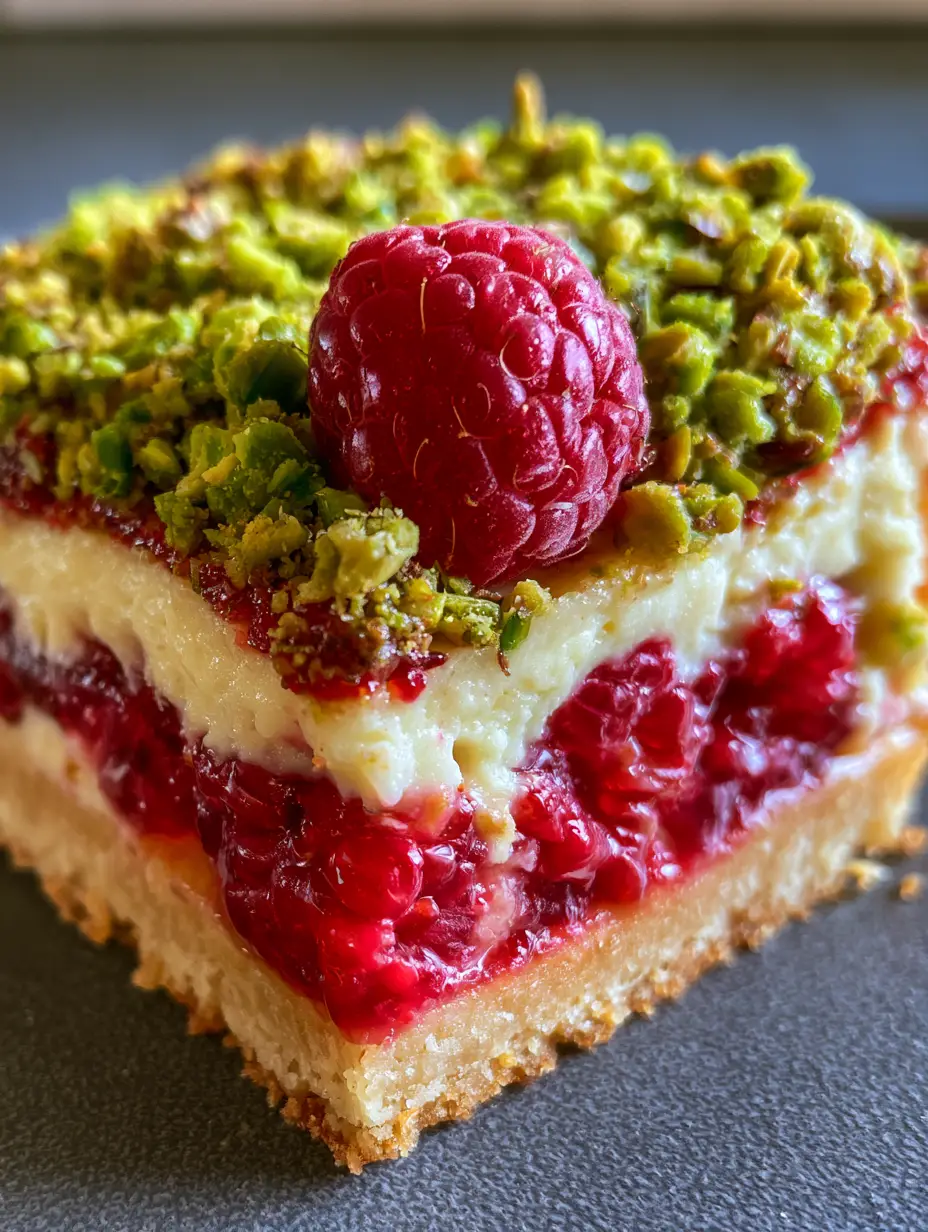
Raspberry Pistachio Bars with Creamy Cheesecake and Shortbread
Ingredients
Equipment
Method
- Pulse flour, sugar, and salt in a food processor. Add cold butter and pulse until coarse crumbs form.
- Press into a lined 8x8 pan and bake at 350°F (175°C) for 18-20 minutes until light golden.
- Beat cream cheese and sugar until smooth. Add eggs and vanilla on low speed until combined.
- Pour filling over crust. Gently press whole raspberries into the top. Bake for 25-30 minutes until edges are set.
- Cool to room temperature. Top with a heavy coating of chopped pistachios and a light honey drizzle.
- Refrigerate for at least 4 hours before slicing into bars.
Notes
Use a hot knife to slice the chilled bars for perfectly clean edges as seen in the photos.
Closing & Call to Action
These raspberry pistachio bars are a testament to how simple ingredients can create a sophisticated and visually stunning dessert. The combination of the golden crust and the heavy coating of pistachios makes every bite a celebration of flavor and texture.
If you made these bars, we would love to hear how they turned out! Leave a comment below and let us know if you added your own twist. Don’t forget to follow us on Pinterest for more visually-driven recipe inspiration and share your photos with the community!