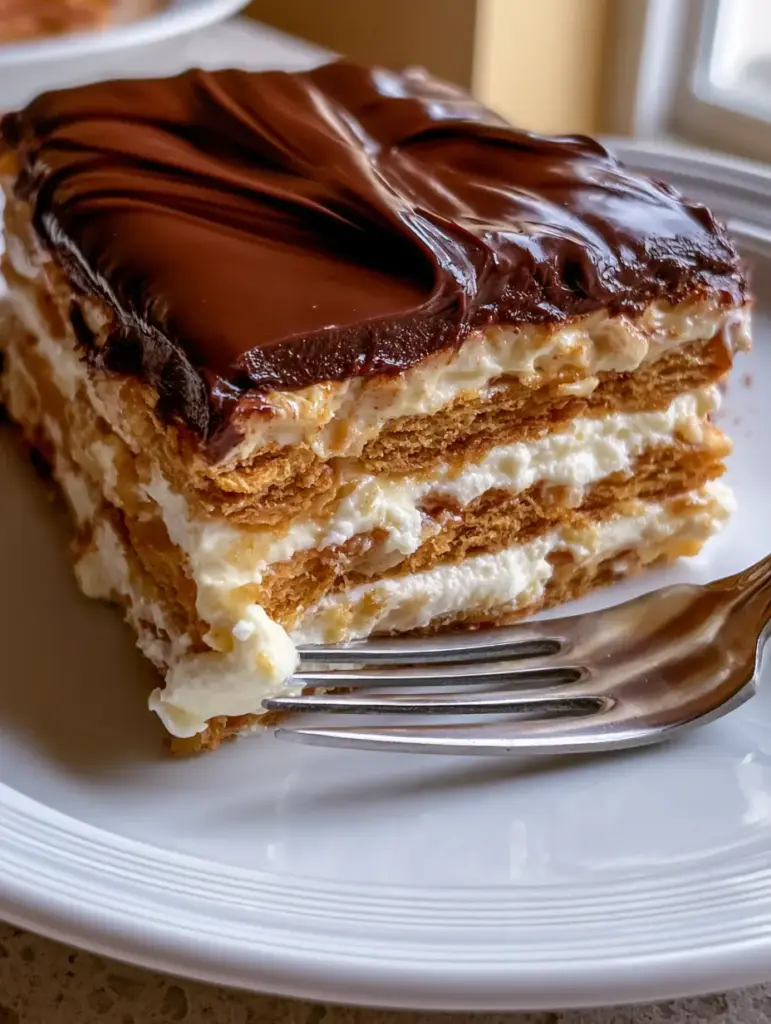
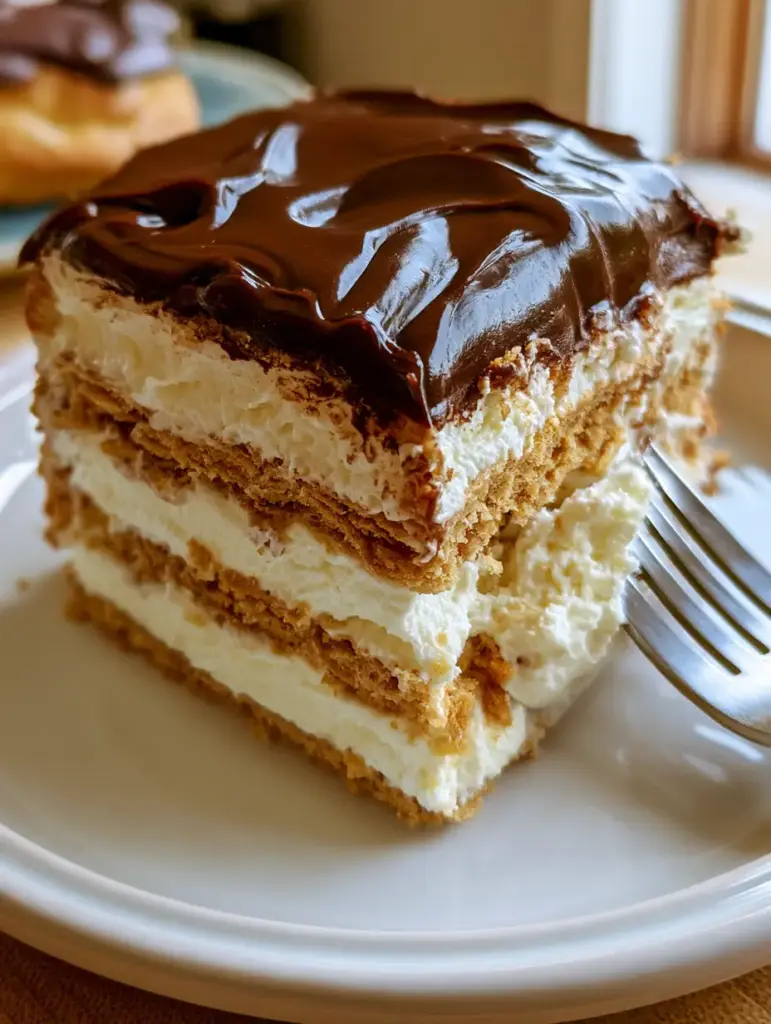
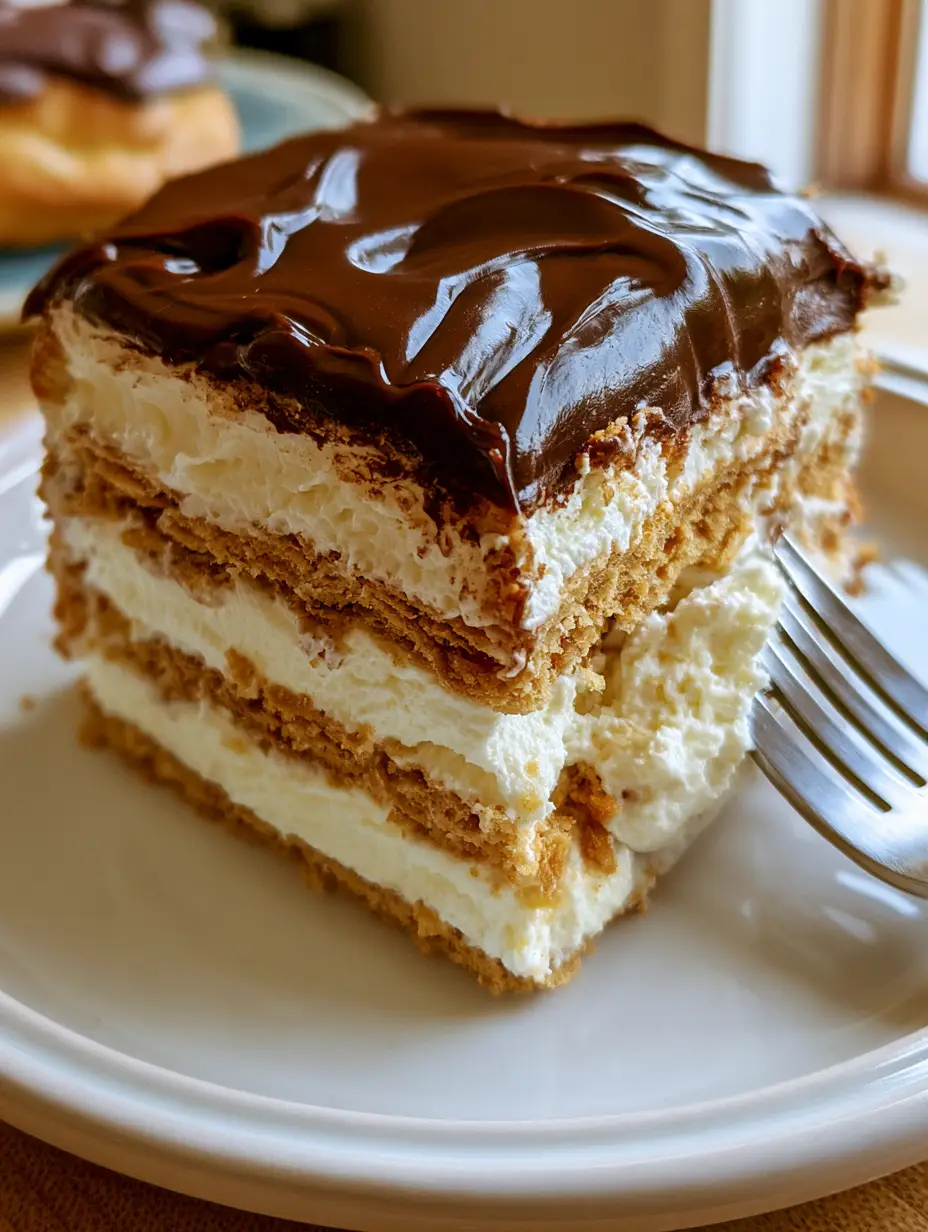
The chocolate eclair icebox cake is more than just a dessert; it is a masterclass in texture and simplicity. Imagine sinking a silver fork into a perfectly rectangular slice where the resistance of the chocolate ganache gives way to pillowy clouds of vanilla cream and softened honey graham crackers.
This recipe captures the essence of a classic French pastry without ever needing to turn on your oven. We are focusing on that signature ultra-glossy, dark chocolate ganache top that features soft, luscious ripples, just like the ones you see in high-end patisseries.
Whether you are serving this on a white marble plate for a sophisticated dinner party or straight from the pan at a summer potluck, this cake delivers a nostalgic flavor profile that everyone loves. Let’s dive into the science of how these simple layers transform into a gourmet treat.
Why You Will Love This No-Bake Masterpiece
- Perfectly Vertical Layers: Using the right custard-to-cracker ratio ensures that when you slice into the cake, you see crisp, clean lines of golden honey graham crackers and fluffy white cream.
- Ultra-Glossy Ganache: We use a specific blend of cocoa powder, butter, and melted chocolate to achieve a mirror-like finish that stays soft enough to ripple.
- Make-Ahead Magic: This cake actually improves with time as the graham crackers absorb moisture, turning into a texture indistinguishable from a moist sponge cake.
- Visual Sophistication: Styled on a white ceramic plate with a silver fork, this humble icebox cake looks like a million-dollar dessert.
The Architecture of the Perfect Chocolate Eclair Icebox Cake
To achieve the specific visual result described in our blueprint, every ingredient serves an architectural purpose. We aren’t just mixing things together; we are building a structural dessert.
Honey Graham Crackers: These act as the “cake” layers. Look for high-quality crackers with a distinct honey flavor to provide the structural base that softens into a delicate crumb after chilling.
Vanilla Pudding Mix: This provides the foundational flavor and stability for our cream. It creates a thick, custardy base that doesn’t weep or run when sliced.
Whole Milk (Cold): Using full-fat milk is non-negotiable for the creamiest mouthfeel. Cold milk ensures the instant pudding sets instantly and firmly.
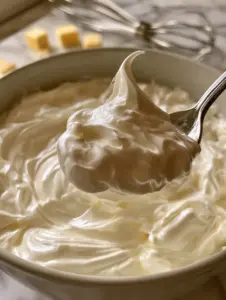
Whipped Cream: We fold in aerated whipped cream to lighten the pudding. This creates that “thick, fluffy white vanilla cream filling” seen in our professional food photography.
Melted Chocolate & Cocoa Powder: The combination of these two ensures a deep, complex chocolate flavor. The cocoa powder adds a dark matte intensity, while the melted chocolate provides the fat needed for a glossy sheen.
Unsalted Butter: This is our “secret” to the ripples. Adding butter to the chocolate topping allows it to set with a flexible, luscious texture rather than cracking like a hard shell.
If you love the textural interplay of cream and chocolate, you might also enjoy our decadent chocolate mousse cake filling for your next baking project.
Essential Tools for Clean Slices
To recreate the macro handheld smartphone photo look, you need a few specific tools. A 9×13-inch glass baking dish is the standard, as it allows you to see those beautiful vertical layers from the side.
An offset spatula is your best friend here. It is the only tool that will give you that perfectly flat layer of vanilla cream and allow you to create those “soft luscious ripples” in the chocolate ganache top.
Finally, a sharp chef’s knife dipped in hot water and wiped clean between every single cut is the secret to getting a rectangular slice that looks professional. This prevents the chocolate from dragging into the white cream layers.
Step-by-Step Construction for Maximum Gloss
Preparing the Fluffy Vanilla Foundation
Start by whisking your cold milk and instant vanilla pudding in a large bowl. Whisk vigorously for two minutes until the mixture begins to thicken and no lumps remain.
Gently fold in the whipped cream using a rubber spatula. Use a “cut and fold” motion to keep as much air in the mixture as possible, ensuring the filling remains thick and fluffy rather than dense.
Building the Honey Graham Layers
Line the bottom of your dish with a single layer of honey graham crackers. You may need to break some crackers to fit the edges perfectly—don’t worry, these seams will disappear as the cake sets.
Spread half of the vanilla cream mixture over the crackers. Repeat with another layer of crackers and the remaining cream, finishing with a final layer of graham crackers on top to act as the base for your ganache.
Crafting the Rippled Chocolate Ganache
In a small saucepan over medium heat, combine the milk, butter, and cocoa powder. Bring to a gentle simmer while whisking constantly to dissolve the cocoa.
Remove from heat and stir in the melted chocolate. Continue whisking until the mixture is ultra-glossy and smooth. Pour the warm glaze over the top layer of crackers, using the back of a spoon to create those signature ripples across the surface.
For a similar glossy finish on other desserts, check out our guide on perfecting cake fillings.
Expert Tips for a Professional Finish
- The 24-Hour Rule: While you can eat this after 4 hours, the 24-hour mark is when the magic happens. The crackers need that time to fully hydrate and reach a “cake-like” consistency.
- Temper the Topping: Ensure the chocolate topping is slightly warm but not hot when pouring. If it’s too hot, it will melt the vanilla cream beneath it; if it’s too cold, it won’t ripple beautifully.
- Sifting is Key: Always sift your cocoa powder before adding it to the butter and milk. This prevents tiny pockets of dry powder that can ruin the “ultra-glossy” look.
- Stability Check: If your kitchen is very warm, chill the pudding mixture for 15 minutes before folding in the whipped cream to ensure it holds its height.
How to Store and Serve Your Icebox Cake
This chocolate eclair icebox cake must be kept refrigerated until the moment of serving. Cover the dish tightly with plastic wrap, but be careful not to let the wrap touch the glossy chocolate top, as it will ruin the ripples.
This cake keeps beautifully for up to 4 days. In fact, many enthusiasts suggest it peaks on day two. We do not recommend freezing this cake, as the pudding texture can become grainy upon thawing, and the graham crackers may lose their structural integrity.
What to Pair With This Creamy Treat
This cake is quite rich, so it pairs wonderfully with something slightly acidic or fruity. A side of fresh macerated strawberries or a dollop of lemon-infused cream can provide a bright contrast.
If you are hosting a larger dessert spread, consider serving this alongside our chewy chocolate chip cookies or even a slice of fresh summer peach cake to offer guests a variety of textures and flavors.
Frequently Asked Questions
Absolutely! This is the perfect make-ahead dessert. It stays fresh and delicious in the refrigerator for up to 3-4 days.
Yes, you can use 2 cups of heavy cream whipped with 1/4 cup of powdered sugar. However, store-bought topping is more stable and helps the cake hold its shape longer at room temperature.
Use a very sharp knife, dip it in hot water, and wipe it completely dry between every single cut. This prevents the layers from smearing.
It takes a minimum of 4 hours for the crackers to begin softening, but for the best ‘cake-like’ texture, we recommend chilling the cake for a full 24 hours.
Cracking usually happens if there isn’t enough fat in the glaze. Ensure you include the butter and milk as directed to keep the ganache flexible and glossy.
The Final Chocolate Eclair Icebox Cake Recipe
Chocolate Eclair Icebox Cake: The Ultimate No-Bake Dessert
Ingredients
Equipment
Method
- In a large mixing bowl, combine 3 cups of cold milk and the two packages of instant vanilla pudding. Whisk vigorously for 2 minutes until thickened.
- Gently fold the whipped cream into the pudding mixture with a spatula until no streaks remain and the filling is light and fluffy.
- Place a single layer of honey graham crackers in the bottom of a 9x13 inch dish, breaking pieces to fit.
- Spread half of the vanilla cream over the crackers. Add a second layer of crackers, the remaining cream, and a final third layer of crackers on top.
- In a saucepan, whisk 1/4 cup milk, butter, and cocoa powder over medium heat until simmering. Remove from heat and stir in melted chocolate until glossy.
- Pour the warm glaze over the top graham cracker layer. Use a spoon or spatula to create soft ripples. Chill in the refrigerator for at least 4-24 hours before serving.
Notes
Use a hot knife for clean, professional slices.
Closing Thoughts on This No-Bake Classic
The chocolate eclair icebox cake is a testament to the fact that you don’t need complex techniques to create a show-stopping dessert. By focusing on high-quality honey graham crackers and a perfectly glossy ganache, you can achieve a professional-level treat right in your own kitchen.
We would love to see your glossy ripples! If you make this recipe, please leave a comment below and share your photos with us. Don’t forget to save this recipe to your favorite dessert board on Pinterest so you always have it on hand for your next celebration!