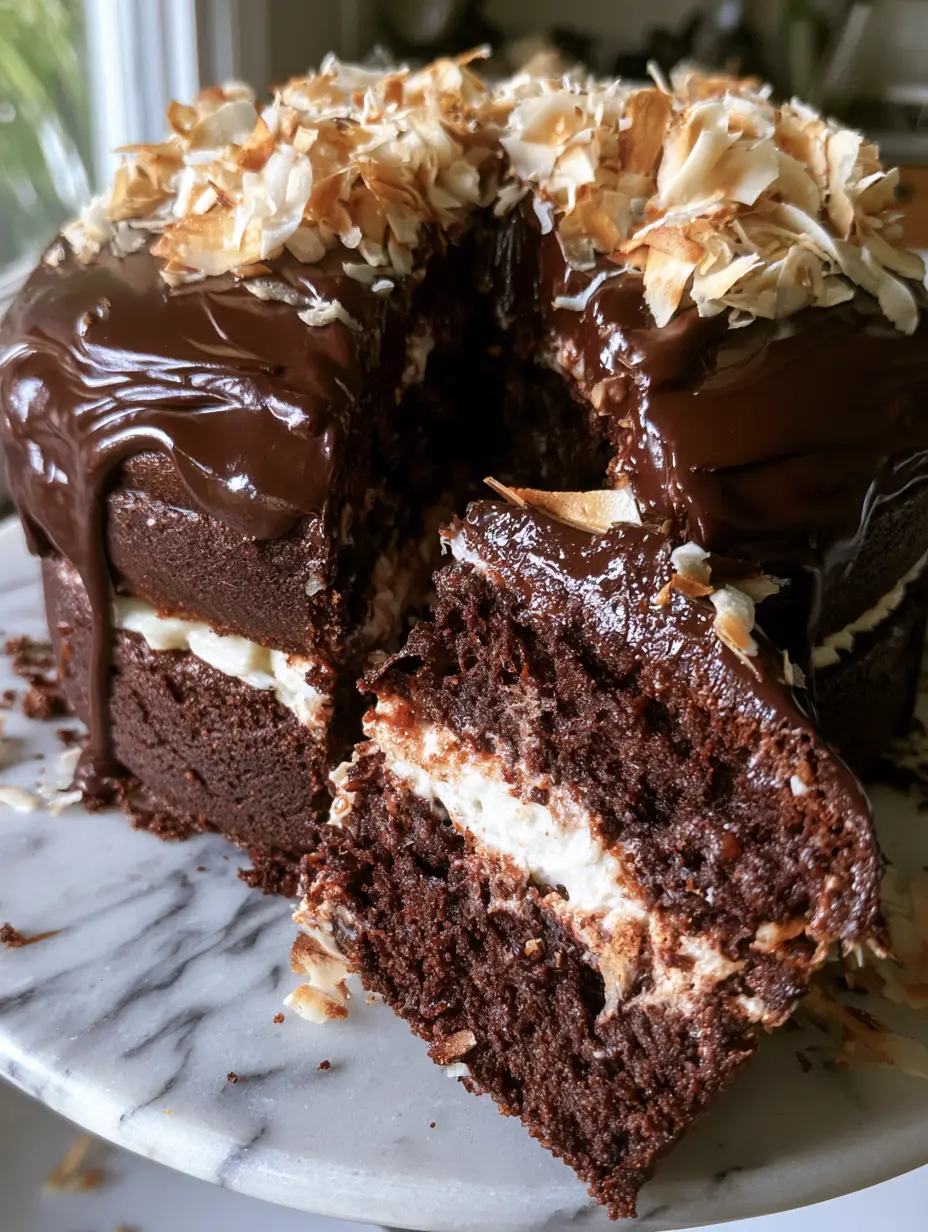
There is something inherently magical about the contrast between a deep, dark cocoa sponge and a snow-white coconut interior. This chocolate coconut dream cake isn’t just a dessert; it is a structural masterpiece designed for those who crave a professional bakery result in their own kitchen. From the glossy ganache drips to the cloud-like coconut cream filling, every bite delivers a sophisticated balance of tropical sweetness and bittersweet chocolate.
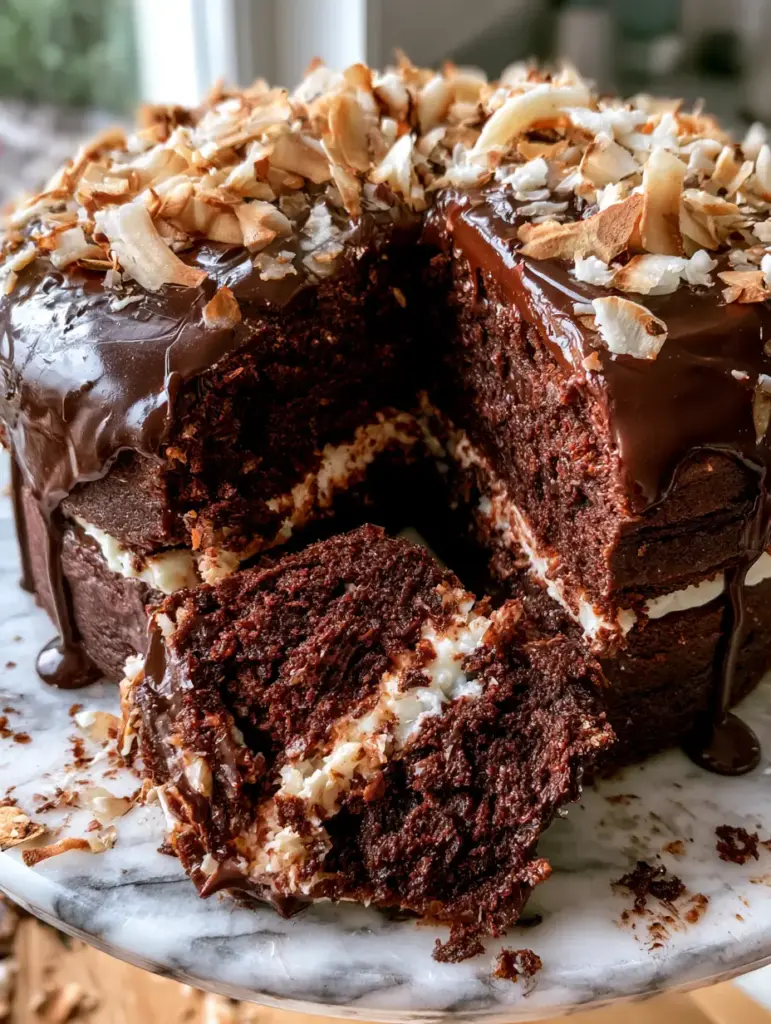
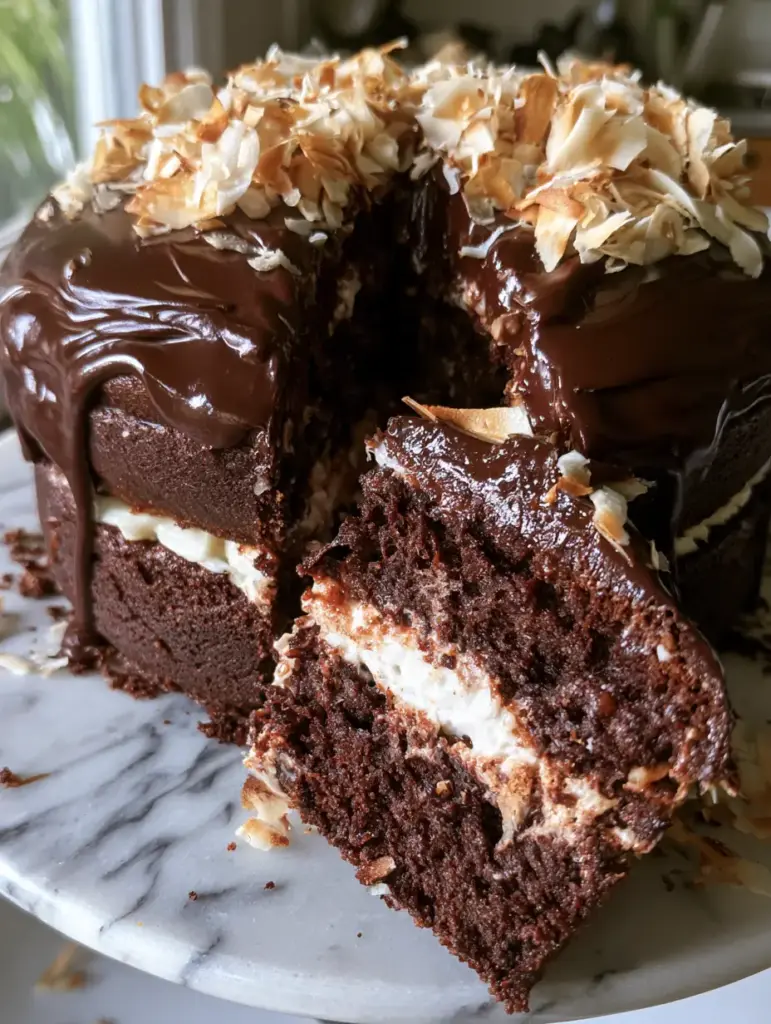
Inspired by the classic flavor profiles of luxury confectionery, this cake captures the “food porn” aesthetic perfectly. Imagine a tall, double-layer cake sitting proudly on a marble cake stand, with thick chocolate ribbons cascading down the sides and a generous crowning of toasted coconut flakes that catch the morning light. Whether you are celebrating a milestone or simply indulging a craving, this recipe is the definitive version of a timeless duo.
Why This Is the Only Chocolate Coconut Recipe You Need
- The Crumb Architecture: Using a specialized blooming technique for the dark cocoa ensures a moist, tight crumb that holds the heavy coconut filling without collapsing.
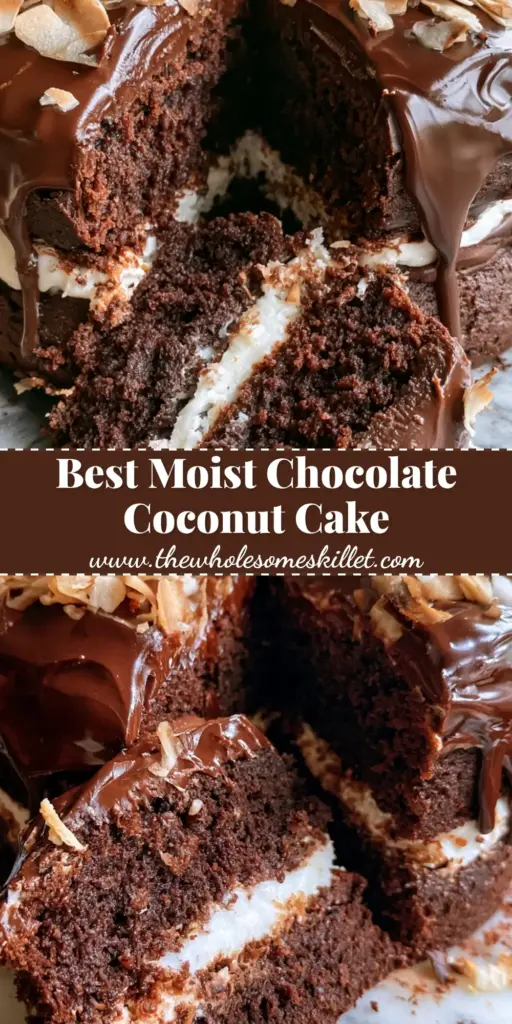
- Visual Contrast: The “bright white” coconut cream against the dark cocoa sponge creates a stunning “dream cake” cross-section that looks incredible on any dessert table.
- Textural Trifecta: You get the crunch of toasted flakes, the velvety smoothness of glossy semi-sweet ganache, and the tender bite of the cake sponge.
- Dual-Coconut Integration: We utilize both untoasted shredded coconut for moisture in the filling and large toasted flakes for a smoky, nutty finish on top.
The Anatomy of a Chocolate Coconut Dream Cake
To achieve the result seen in professional food photography, every ingredient serves a specific culinary purpose. We don’t just use sugar for sweetness; we use it for moisture retention and structural integrity.
Dark Dutch-Processed Cocoa Powder: This is the secret to that “near-black” sponge. It provides a smoother, deeper chocolate flavor than natural cocoa and reacts beautifully with the leavening agents.
Full-Fat Coconut Cream: For the filling, we skip the thin milk and go straight for the thick cream. This ensures the filling stays “thick and white” as per the visual blueprint, rather than soaking into the cake layers.
Semi-Sweet Chocolate Couverture: For a truly glossy ganache that drips perfectly, high-quality chocolate with a good cocoa butter content is essential. This creates that signature professional shine.
Toasted vs. Untoasted Coconut: We use shredded untoasted coconut inside the filling to provide a soft, chewy texture. The large flakes on top are toasted to a deep golden brown to add a nutty aroma and a necessary crunch.
Boiling Water: Essential for “blooming” the cocoa. This process releases the flavor trapped in the cocoa solids, ensuring the chocolate profile is front and center.
Essential Tools for a Professional Finish
Creating a tall, moist double-layer cake requires more than just a standard bowl. To mirror the visual prompt of a perfectly pulled slice on a marble cake stand, you will need a few specific items.
Two 8-inch (20cm) round cake pans are standard, but ensure they have high sides (at least 3 inches) to allow the dark cocoa sponge to rise tall. A wooden cake server is not just for show; its wide base helps support the weight of the thick coconut filling when you pull that first iconic slice. For the ganache, a small offset spatula will help you nudge the drips over the edge to get that “handheld smartphone photo” aesthetic of controlled messiness.
Step-by-Step: The Dark Cocoa Sponge
Blooming the Cocoa and Mixing the Base
Preheat your oven to 350°F (175°C). In a heat-proof bowl, whisk 3/4 cup (75g) of dark cocoa powder with 1 cup (240ml) of boiling water. This “blooms” the chocolate, creating a dark, aromatic slurry. In a separate large bowl, sift together 2 cups (250g) of all-purpose flour, 2 cups (400g) of sugar, 1.5 tsp (7g) baking powder, and 1.5 tsp (7g) baking soda.
Incorporating the Liquid Gold
Add 1 cup (240ml) of buttermilk, 1/2 cup (120ml) of vegetable oil, and 2 large eggs to the dry ingredients. Beat on medium speed for two minutes. Slowly stream in the warm cocoa mixture. The batter will be thin, but this is exactly what leads to the “tall, moist” texture we are aiming for. Divide the batter equally between your prepared pans.
Baking for Height and Moisture
Bake for 30-35 minutes. Look for the “rebound cue”: when you gently press the center of the cake, it should spring back immediately. Let the cakes cool completely before even thinking about the filling. A warm cake will melt your “bright white” cream, turning your dream cake into a structural nightmare.
Crafting the Thick Coconut Cream Filling
To achieve the “thick white” filling seen in the chocolate mousse cake filling variations, we need stability. Start by beating 8oz (225g) of cold cream cheese with 1/2 cup (60g) of powdered sugar until smooth. In a separate bowl, whip 1 cup (240ml) of heavy cream with 1/2 cup (120ml) of the solid part of a chilled can of coconut cream until stiff peaks form.
Fold the two mixtures together and stir in 1 cup (90g) of untoasted shredded coconut. This creates a dense, pipeable filling that won’t bulge under the weight of the top layer. This technique is a step up from a traditional coconut ricotta cake, offering more structural hold for a tall layer cake.
The Glossy Semi-Sweet Ganache Drip
Heat 1/2 cup (120ml) of heavy cream until it just begins to simmer. Pour it over 1 cup (175g) of semi-sweet chocolate chips. Let it sit for 5 minutes, then whisk gently starting from the center. The result should be a glossy chocolate ganache. If it looks dull, a teaspoon of corn syrup can be added, but high-quality chocolate usually provides enough natural shine. For more on ganache textures, check out our guide on chocolate ganache cake filling.
Assembly: Achieving the “Food Porn” Look
Place one cake layer on your marble stand. Spread the coconut filling heavily, leaving a half-inch border at the edges. Place the second layer on top and press gently until the filling reaches the edge. Pour the ganache over the center, using your spatula to push it toward the sides so it begins dripping down the sides in thick, luxurious ribbons. Immediately sprinkle the top with the large toasted coconut flakes while the ganache is still wet so they adhere.
Expert Tips for Cake Success
- Temperature Control: Ensure your eggs and buttermilk are at room temperature to prevent the batter from curdling, which affects the rise.
- The Clean Cut: To get the perfect slice shown in the prompt, dip your knife in hot water and wipe it clean between every single cut.
- Toast with Care: Coconut flakes go from white to burnt in seconds. Toast them in a dry pan over medium heat, tossing constantly until golden.
- Stable Filling: Always chill your can of coconut milk overnight. Use only the solid white “cream” at the top for the filling.
Storage and Make-Ahead Advice
This chocolate coconut dream cake actually tastes better the next day as the moisture from the coconut filling seeps slightly into the dark cocoa sponge. Store the cake in an airtight container in the refrigerator for up to 4 days. If you find yourself with leftover coconut, you might enjoy making raspberry coconut magic bars or coconut snowball bars later in the week.
What to Serve with Your Dream Cake
Because this cake is intensely rich, it pairs beautifully with something tart or a simple glass of cold milk. If you are hosting a dessert party, consider serving smaller portions alongside strawberry custard cake for a fruity contrast. For the ultimate chocolate lover’s spread, a side of chocolate chip cookies or a warm chocolate chip pizookie will ensure no craving goes unsatisfied.
Frequently Asked Questions
Yes! This cake is excellent when made a day in advance. The moisture from the coconut cream filling slightly softens the sponge, making it even more tender.
No, regular coconut milk is too thin. You must use full-fat canned coconut cream (or the solid part of a chilled can of coconut milk) to ensure the filling is thick enough to support the cake layers.
The gloss comes from high-quality chocolate and the correct emulsion with heavy cream. Avoid overheating the chocolate, and whisk gently to prevent air bubbles from dulling the shine.
Untoasted shredded coconut is used inside the filling for a soft, chewy texture. Large flakes are toasted for the topping to add a crunch and a nutty, aromatic finish.
Blooming cocoa powder dissolves the solids and releases the flavor trapped inside. This results in a much more intense chocolate flavor and a darker, moister cake sponge.
The Ultimate Chocolate Coconut Dream Cake Recipe
Chocolate Coconut Dream Cake: The Ultimate Moist Layer Cake
Ingredients
Equipment
Method
- Whisk cocoa powder and boiling water; set aside to cool slightly.
- Combine dry ingredients. Add buttermilk, oil, and eggs. Beat for 2 mins, then stream in cocoa mixture.
- Divide into pans and bake at 350°F (175°C) for 30-35 mins. Cool completely.
- Beat cream cheese and sugar. In another bowl, whisk heavy cream and coconut cream to stiff peaks. Fold together with shredded coconut.
- Pour hot cream over chocolate chips. Let sit for 5 mins, then whisk until glossy.
- Place one layer on stand, top with coconut filling, then the second cake layer.
- Pour ganache over the top, letting it drip down the sides. Sprinkle with toasted flakes.
Notes
Toast coconut flakes in a dry skillet for 2-3 minutes until golden.
Closing & Call to Action
This chocolate coconut dream cake is the intersection of culinary science and visual art. By following the blooming method for the cocoa and the stabilization technique for the coconut cream, you’ve created a dessert that is as delicious as it is beautiful. We would love to see your results! If you make this, tag us and share your photos on Pinterest. Don’t forget to leave a comment below with your favorite cake-baking tip!